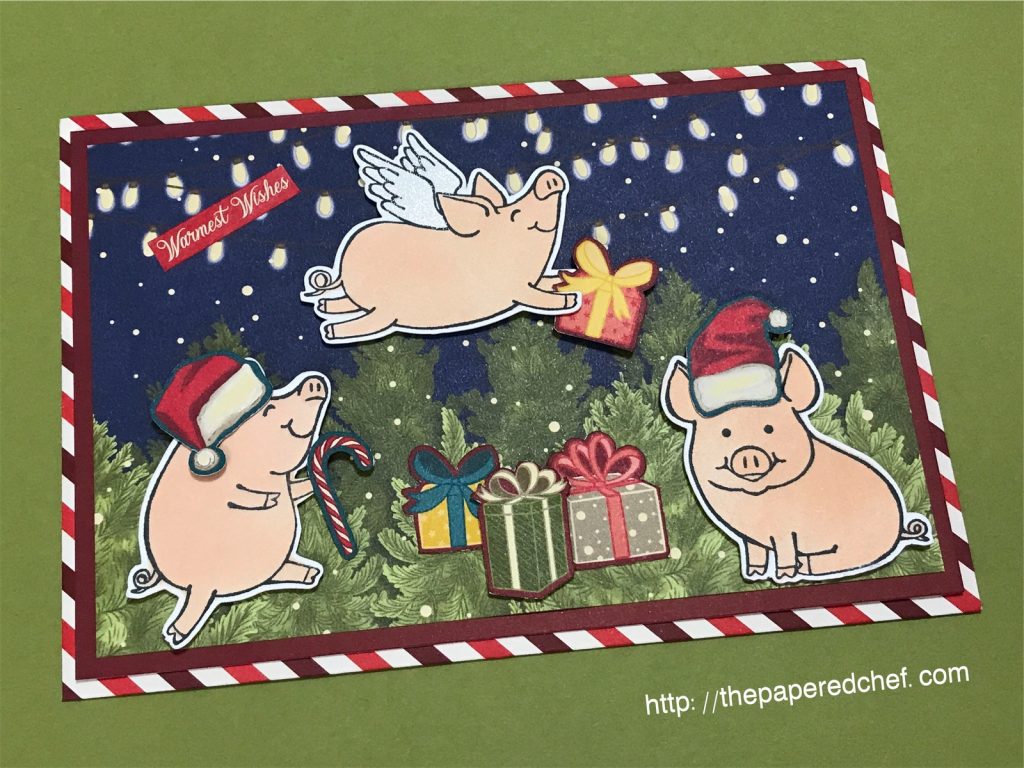
In this tutorial, you will learn how to cut out patterned paper using your Brother Scan and Cut CM350. The paper we are using for these examples is the Night Before Christmas designer series paper by Stampin’ Up! It is part of the 2019 Holiday Catalog. To cut out the patterns, I scanned in the paper and then selected a specific area. I shared tips and tricks on removing unwanted parts of the images, adding an outline distance and how to delete parts of scanned images that you don’t want to cut out. I shared several of my projects I created using the the Night Before Christmas designer series paper and the This Little Piggy stamp set from the Annual Catalog by Stampin’ Up!
Settings for the CM350
Recognition Mode = Color Recognition
Blade Depth = 3
Outline Distance = 0.04″
We Celebrated World Card Making Day on October 5, 2019
Post a picture of a card you made and you can win a prize. Please post it by Saturday, October 12th. https://www.facebook.com/thepaperedchef
Join my Team for only $99 and personalize your Starter Kit
Subscribe to Paper Pumpkin for a crafty kit each month
Related Tutorials
This Little Piggy YouTube Playlist
Brother ScanNCut SDX125 – Cutting Stamped Images – Over the Moon
 Designer Series Paper")


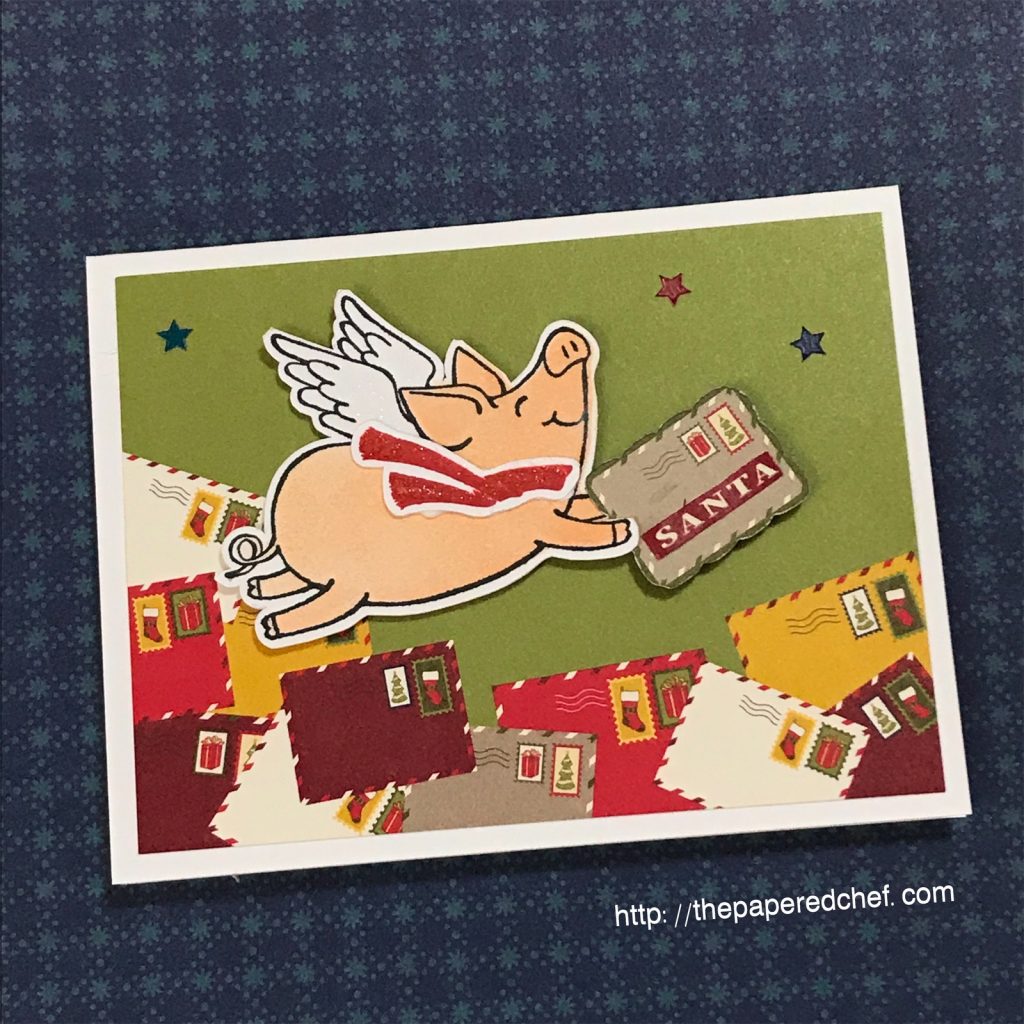


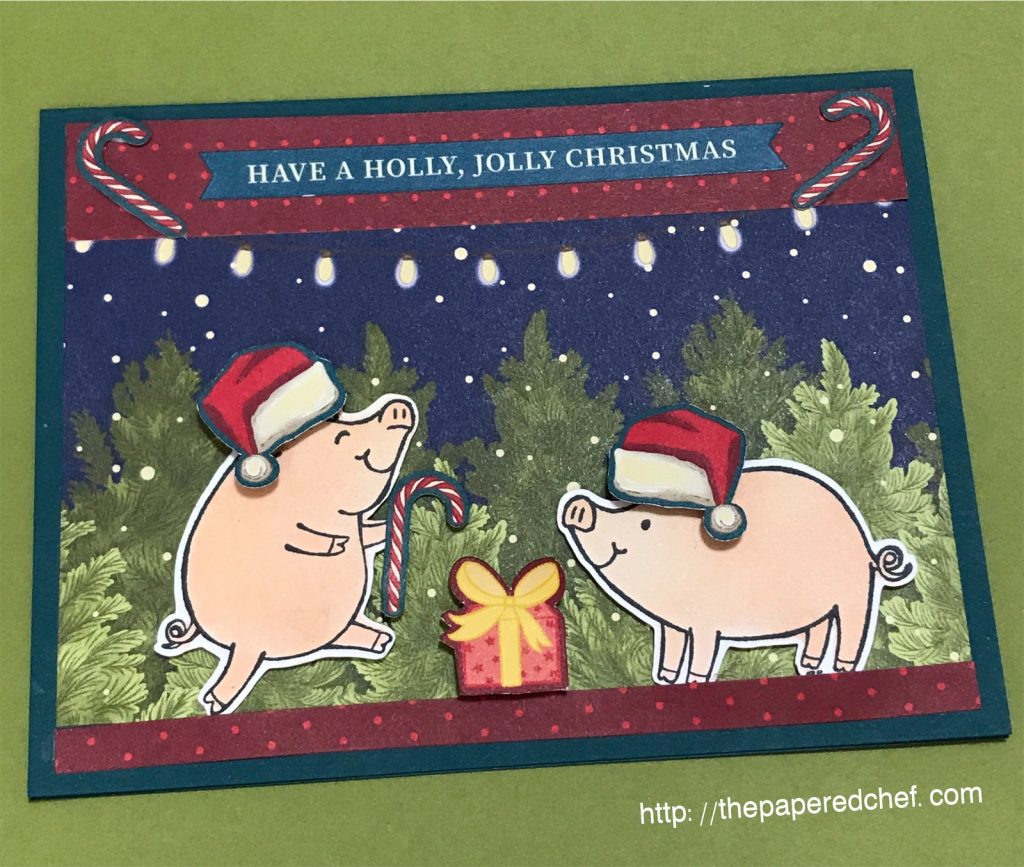
Projects by The Papered Chef:


