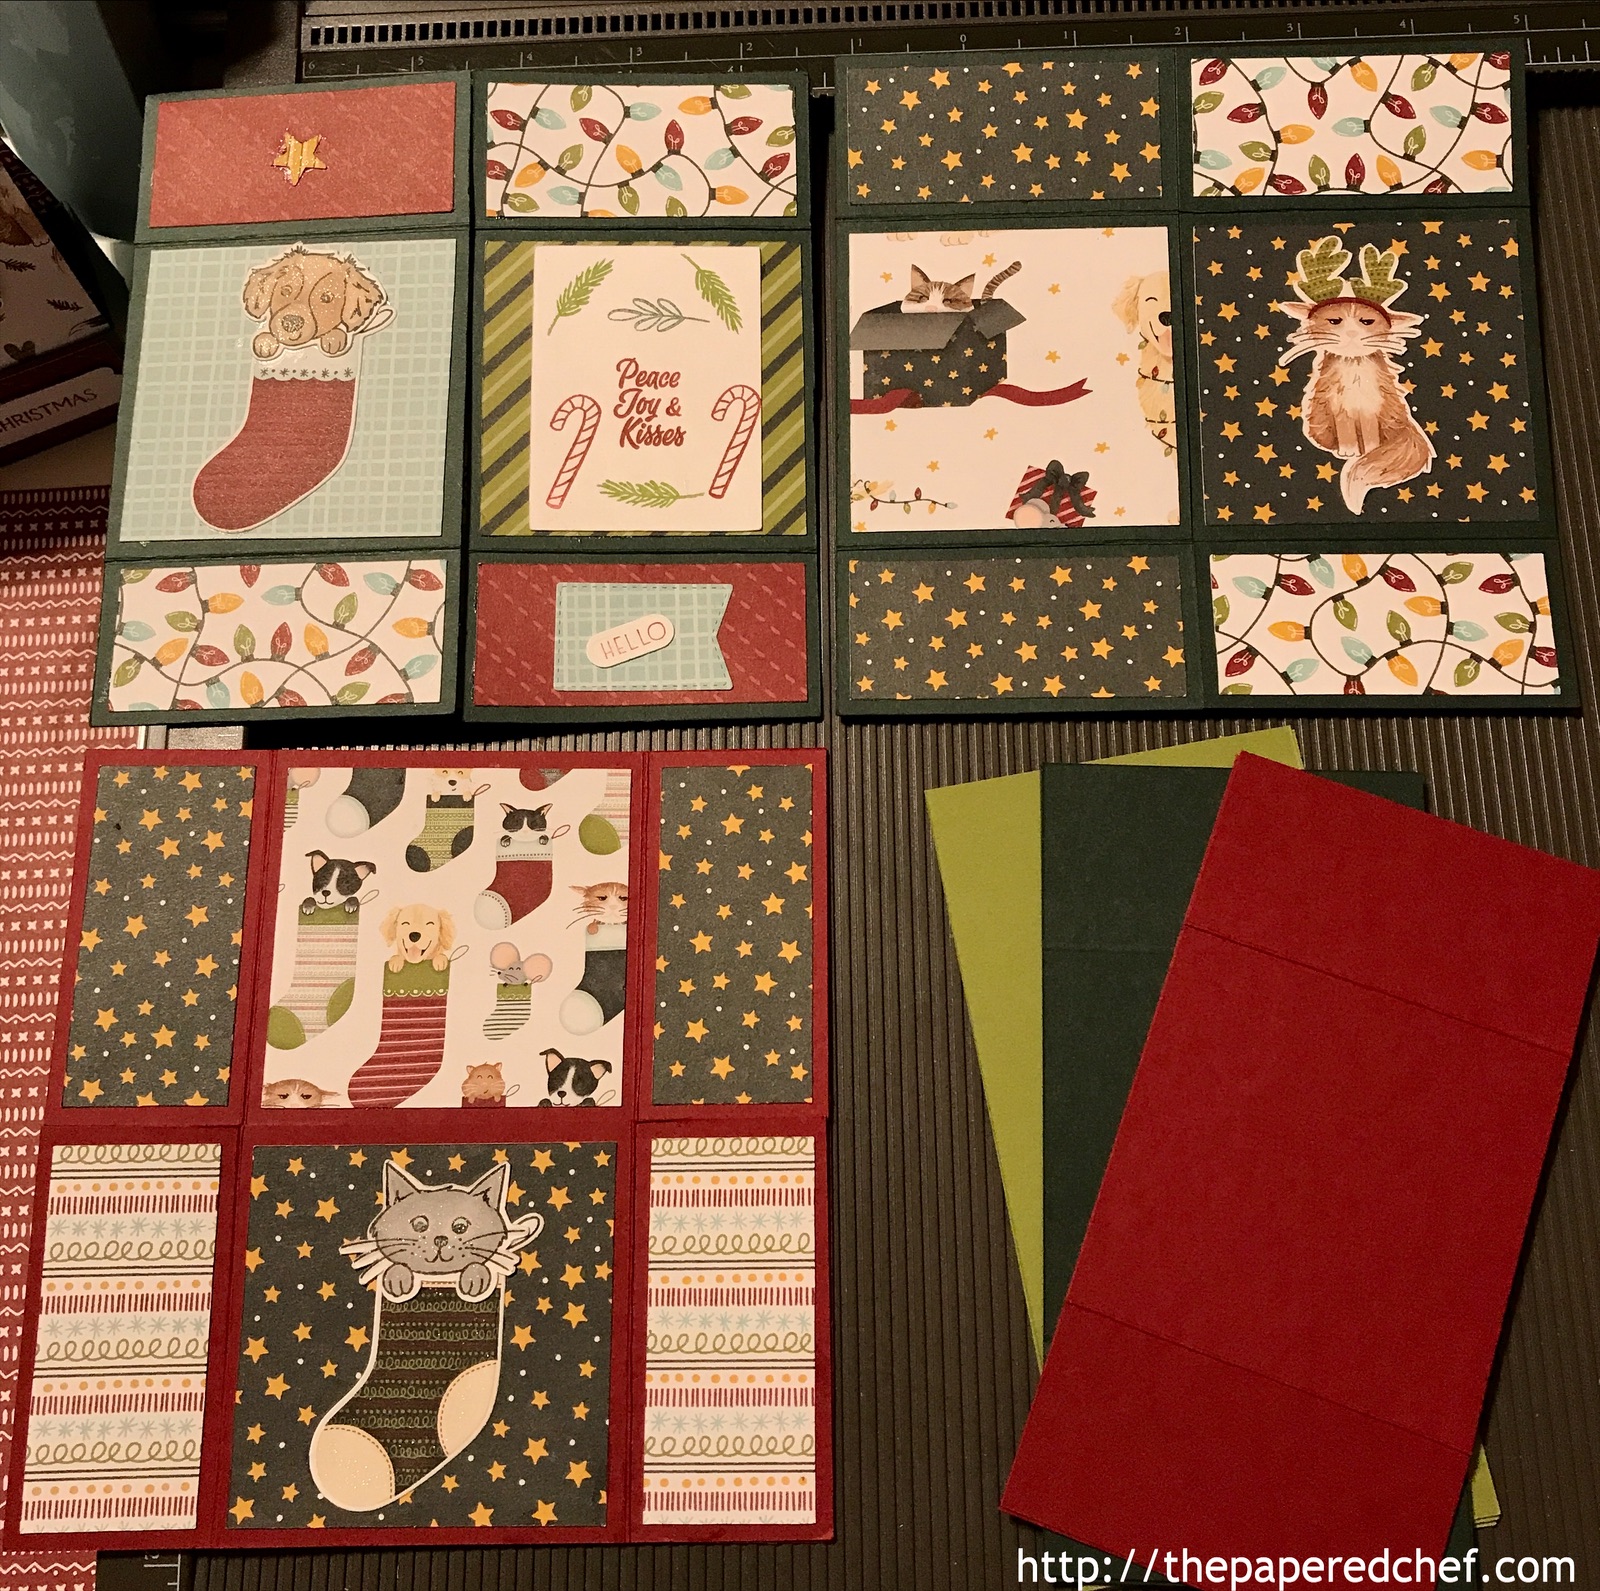
In this tutorial, you will learn how to use your Brother ScanNCut to decorate mini pizza boxes by Stampin’ Up! First, we used patterns to create the shapes to cut out using the Dashing Along dsp. I attached the larger square to the top and the two smaller squares to the insides using rolling adhesive.
Dimensions for Decorating Mini Pizza Boxes
Square X 1 = 3.45″
Square X 2 = 3.4″
Rectangles X 6 = 1″ by 3.45″
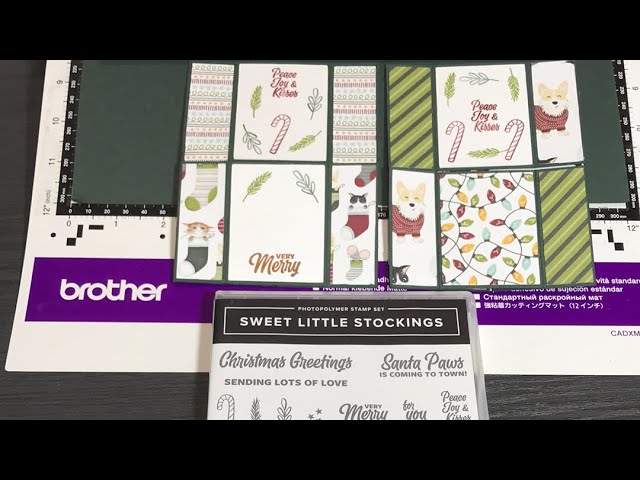
Then, we used the Ride with Me stamp set to stamp and cut out a truck with a tree on the back. I stamped both onto Whisper White card stock. I used Memento Black for the truck and a Garden Green marker for the tree. The truck and tree were cut with an outline distance of 0.04″. I showed how to color the trucks in a previous video linked below. After I colored the trucks from the Ride with Me stamp set using the Stampin’ Blends, I used Wink of Stella to add some glitter to the tree and window. Then, I showed how to attach a wobble spring to the truck to make it a fun interactive mini pizza box. I stamped the sentiment from the Ride with me stamp set in Memento Black ink onto Whisper White card stock. Then, I punched it out using the Timeless Label punch.
All of the products featured here are available now. They are in the 2019-2020 Annual Catalog. If you place an order in August, you will get a Holiday Catalog sent to you via Snail Mail.
Product List


 Cardstock")


Projects by The Papered Chef:
Subscribe to my YouTube Channel
Visit me on Pinterest
Like me on FaceBook
Follow Me on Instagram
Shop at our Etsy Store