Ingredients:
Clear, 1″ Stickers, 100 count
Clear, 1″ Stickers, 200 count
Magnetic Vent Covers (3-pack)
4×6 Magnetic Sheets (12-pack)
Brother ScanNCut 2 CM350
Animal Expedition designer series paper
Recipe:
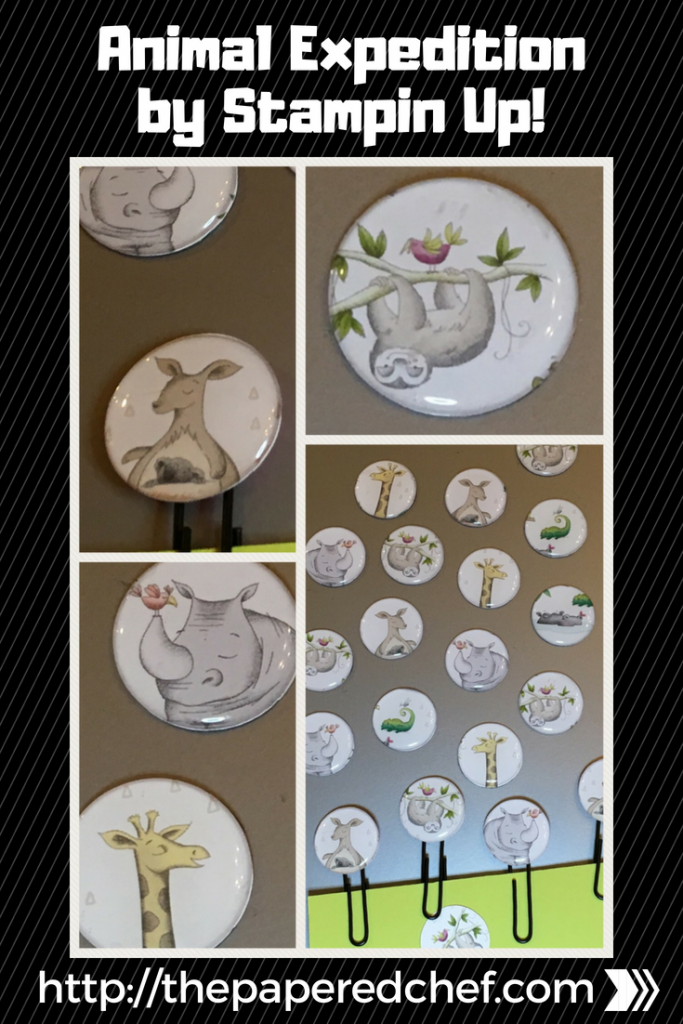
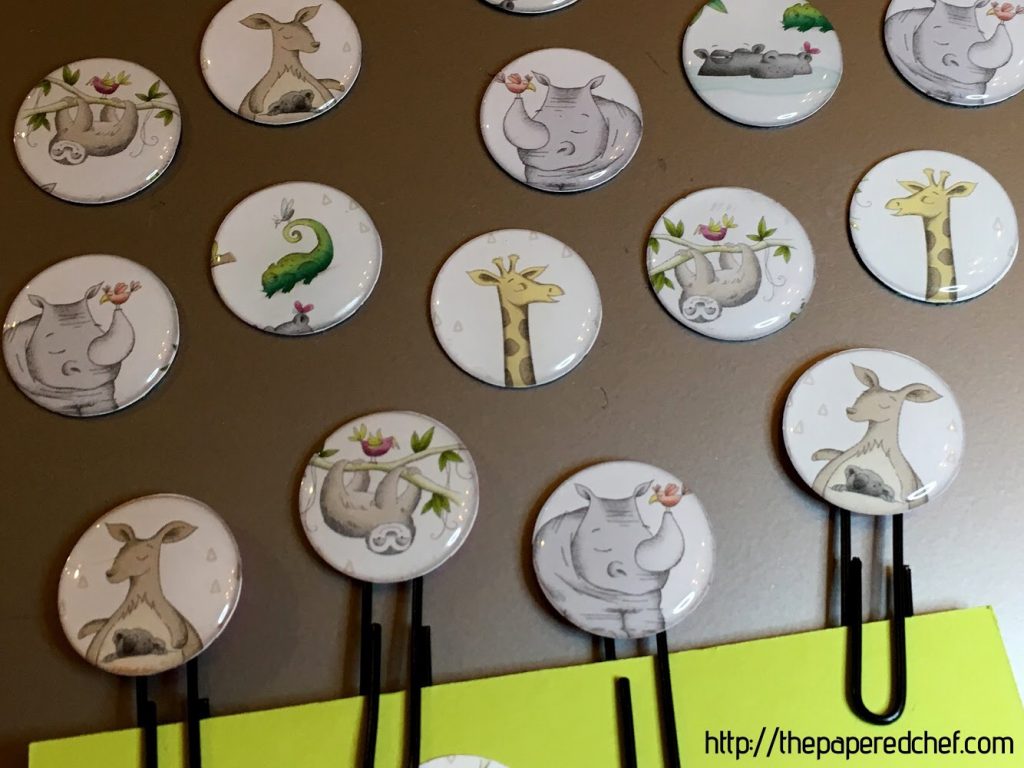
In this video, you will learn how to create magnets and decorative paper clips using the Animal Expedition dsp by Stampin’ Up! In a prior video, I demonstrated how to cut out magnetic material. I will link to that video below. The front of the magnets and top of the paper clips are 1 inch. The steps for this project are outlined in the video. First, you need to create 1″ circles and place them onto your paper in the places where you want to cut out the animals. Then, you cut them using a blade depth of 3. Then, you adhere them to the 1″ circle magnets. Then, you adhere the sticker to the top, being sure not to get your finger prints onto the plastic. For the paper clip, you don’t use the magnetic background. Instead, you use hot glue.


Related Posts and Videos:
Animal Expedition Suite by Stampin’ Up
Cutting out Magnetic Material using the Brother ScanNCut

More Projects by The Papered Chef:
Subscribe to my YouTube Channel
Visit me on Pinterest
Like me on FaceBook
Follow Me on Instagram
Shop at our Etsy Store


