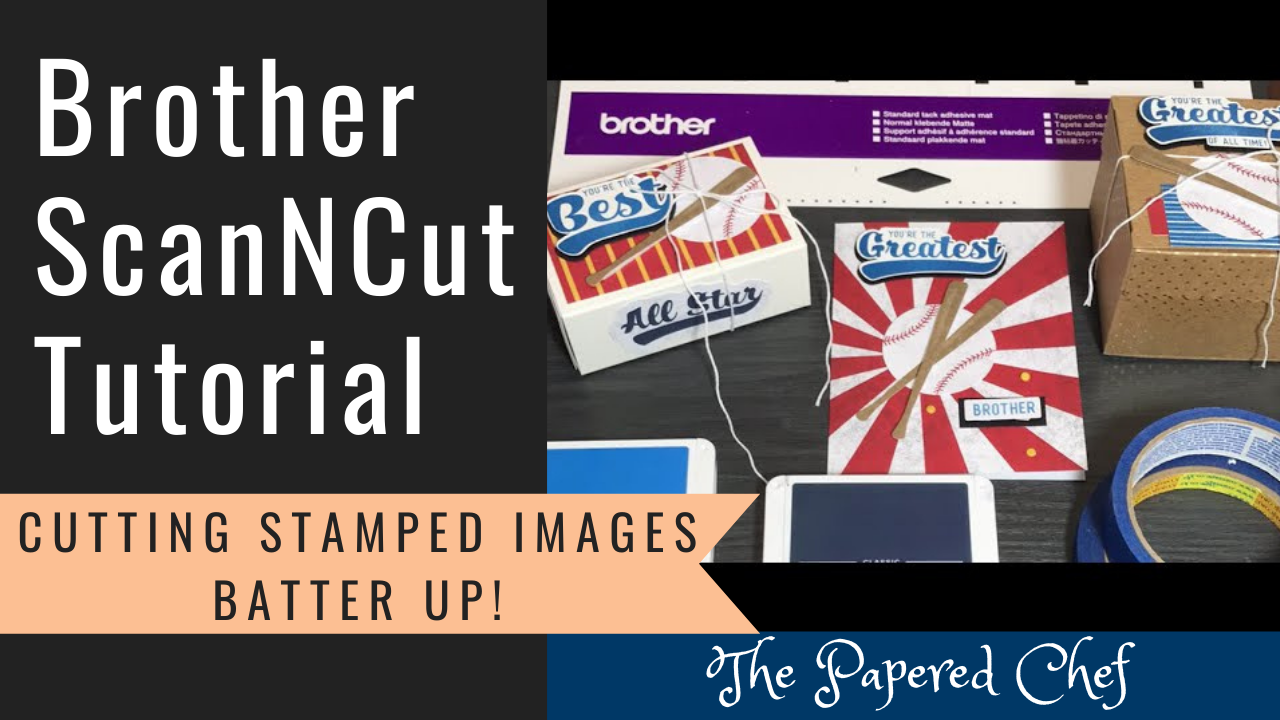
I’m excited to share my series of 7 videos which will benefit teachers and crafters who use the Brother ScanNCut. I cover how to create stencils, cut foam, create bulletin board letters, cut stickers, cut and draw on Post-It material, cut felt, and create magnets. For easy viewing, all of the videos are embedded into this post. Thanks for watching my latest Scan and Cut series featuring the CM350 or ScanNCut 2.
Welcome to the Brother ScanNCut Back to School series. In Part 1, you will learn how to cut stencils using your Brother ScanNCut 2. Stencils can be used to tracing, coloring, decorating, masking, and much more. I will show you several examples of how I used the stencils I cut from Mylar sheets.
ScanNCut2 CM350 Settings Used:
Deep Cut Blade Depth = 4
Cut Speed = 2
Cut Pressure = 3
Want to learn more about the ScanNCut? Check out my Basics and Advanced Brother ScanNCut Courses
Welcome to the Brother ScanNCut Back to School series. In Part 2, you will learn how to cut foam using your Brother ScanNCut 2. Foam shapes can be used as classroom manipulatives. Students can use them to learn their shapes and colors, to trace and categorize and classify. Teachers and group leaders can use the shapes to help organize the children into groups. I demonstrate how to cut foam shapes, how to group shapes, how to background scan, how to change settings, how to cut out foam stickers and how to cut out patterns such as a frame or a key. I apologize for yelling into the microphone during the video.
ScanNCut2 CM350 Settings Used:
Deep Cut Blade Depth = 6 or 7
Cut Speed = 2
Cut Pressure = 6


Welcome to the Brother ScanNCut Back to School series. In Part 3, you will learn how to cut out bulletin board letters using your Brother ScanNCut 2. Letters can be used all over your classroom, in the hallways and for other educational purposes. If you make smaller letters using the method I show you, students can use them for recognizing shapes and colors. The Scan and Cut has built in fonts you can use. Just be sure that when you resize letters, you move them to the middle of your mat first so that they have room to “grow.” For this tutorial, I cut the welcome letters 7″ tall so that they would fit on the standard card stock sheets I used which were 8.5″ by 11″ in assorted colors.
ScanNCut2 CM350 Settings Used:
Standard Blade Depth = 4
Cut Speed = 3
Cut Pressure = 0
In this video, you will learn how to create stickers using the Brother ScanNCut. Prior to this video, I printed a full sheet of color stickers using an Avery sticker template which is available for free. Then, I scanned and cut the stickers using an outline distance of 0.4″ and the following settings. Then, I showed how to use built in patterns to create stickers using Avery Sticker paper. Then, I showed how I quickly color my stickers using a sponge. I showed other ways to create stickers including using vinyl sticker sheets, full label sheets, glitter card stock and Post-It paper.
ScanNCut2 CM350 Settings Used:
Standard Blade Depth = 2.5 (sticker paper)
Standard Blade Depth = 1.5 (vinyl)
Cut Speed = 3
Cut Pressure = 0
Learn more about the ScanNCut: Brother ScanNCut – Udemy Course Launch Video
Welcome to Part 5 of the Brother ScanNCut Back to School series. In this video, you will learn how to cut out and draw on Post-It material using your Brother ScanNCut 2 or CM350. Teachers and students love Post-Its. They stick well, they are easy to remove and they don’t leave any residue. They are the perfect sticky material for bulletin boards, lockers and walls. The first project we created is cutting out dolphin mascots using the Post-It Craft Paper. We used the standard blade depth of 3 and a pattern interval of 3. The second project we created was cutting out a full sticky in the shape of a sun. We cut onto a 3” by 3” fully adhesive Post-It note using a blade depth of 2. The third project we created was drawing onto full sticky Post-It labels using the drawing pen. We used the standard pen holder with the black pen. We used a built-in font which we resized after using the background scanning feature to see the labels in the background. We covered many skills in this tutorial which you can apply to your own Back to School projects or crafty endeavors. Please feel free to ask questions and to comment on this video.


Welcome to Part 6 of Back to School with the Brother ScanNCut. In this tutorial, we use the Scan and Cut 2 or CM350 to cut out felt. I demonstrate how to cut out a felt ladybug and cloud. I use stiffened felt for this tutorial which can be softened further by brushing it. It is important to first adhere your felt or any fabric that you cut onto a high tack fabric support sheet. These product is available on Amazon. Please use my affiliate link below if you plan on purchasing it.
CM350 ScanNCut Settings Used:
Deep Cut Blade Depth = 5
Cut Speed =
Cut Pressure = 6
Welcome to Part 7 of Back to School with the Brother ScanNCut. In this video, you will learn how to cut out magnets using the Brother ScanNCut. We are using the Scan and Cut 2 or CM350. You only need the standard blade for this project. First, I show you how to cut out the magnetic alphabet letters. Then, I show you how to cut out the alphabet glitter letters. Lastly, I show you how to turn the letters into stickers using the Xyron sticker maker. We stick the letters onto the magnets and finish the project. The possibilities are endless. I suggested several other ways teachers can use magnets in their classroom. Crafters can benefit from the Back to School projects in this series as well. Check out the playlist to see all 7 videos in the series.
CM350 ScanNCut 2 Settings Used:
Magnetic Sheets:
Blade Depth = 10
Cut Speed = 2
Cut Pressure = 3
Glitter Paper:
Blade Depth = 7
Cut Speed = 2
Cut Pressure = 3


More by The Papered Chef
Subscribe to my YouTube Channel
Like me on FaceBook
Visit me on Pinterest
Follow Me on Instagram
Shop at our Etsy Store


