- Butterfly Gala Photopolymer Stamp Set
- Crackle Paint Cling Stamp Set
- Clear Block F
- Whisper White 8-1/2" X 11" Card Stock
- Gray Granite Classic Stampin' Pad
- Highland Heather Classic Stampin' Pad
- Balmy Blue Classic Stampin' Pad
- Grapefruit Grove Classic Stampin' Pad
- Clear Wink Of Stella Glitter Brush
- Botanical Butterfly Designer Series Paper
- Tag Topper Scalloped Punch
- Black/Silver 1/4" (6.4 Mm) Striped Metallic Ribbon
- Stampin' Dimensionals
- SNAIL Permanent Adhesive
Recipe:
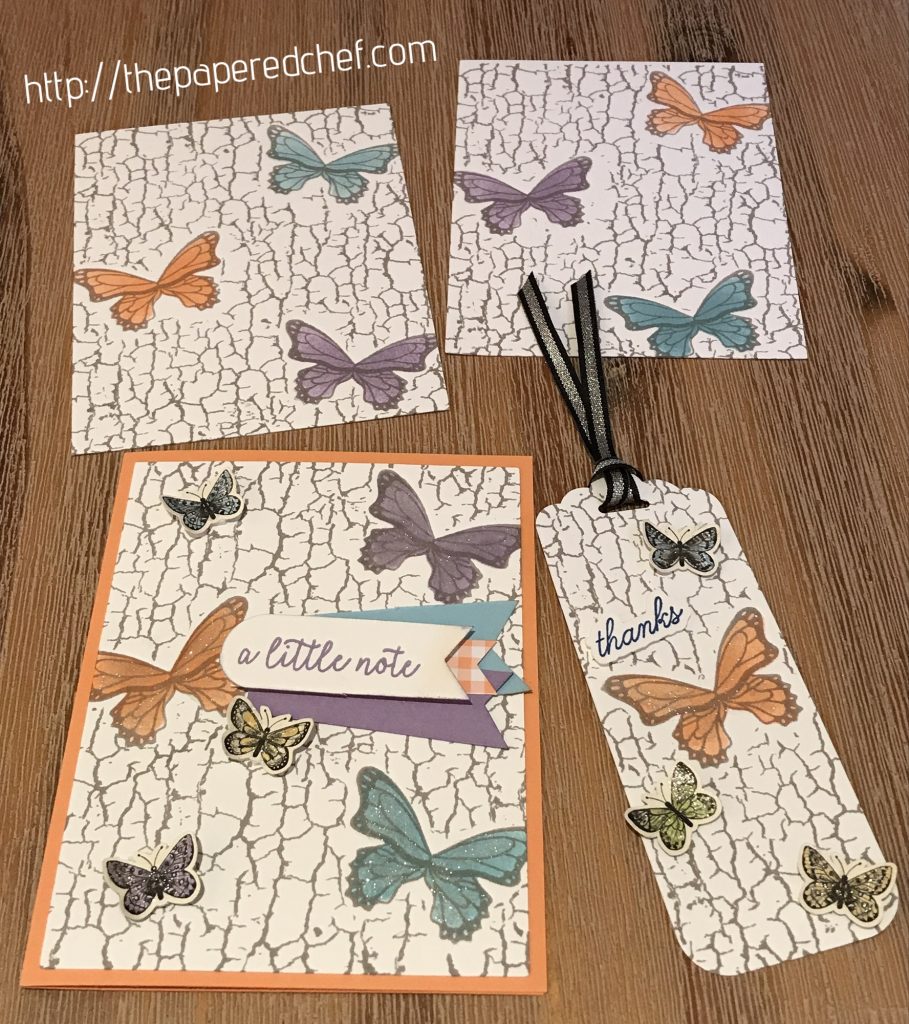
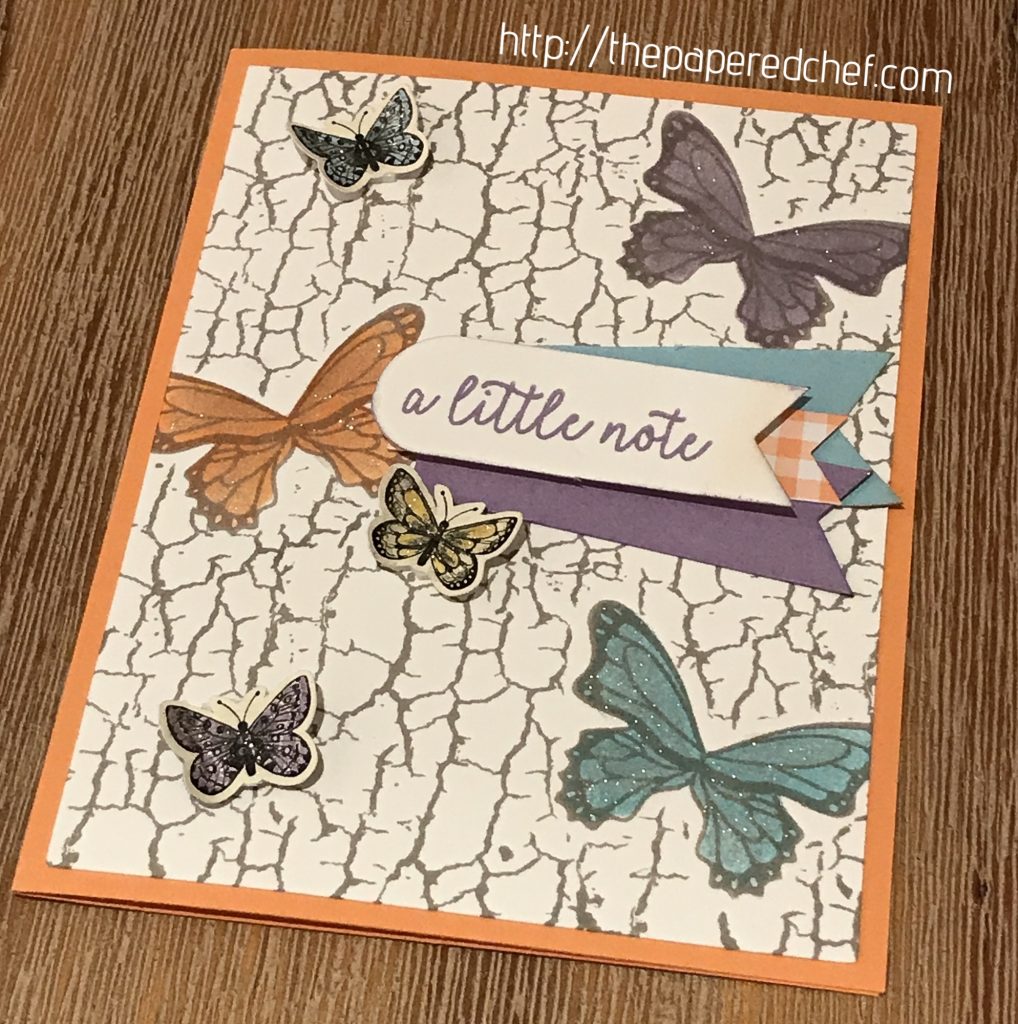
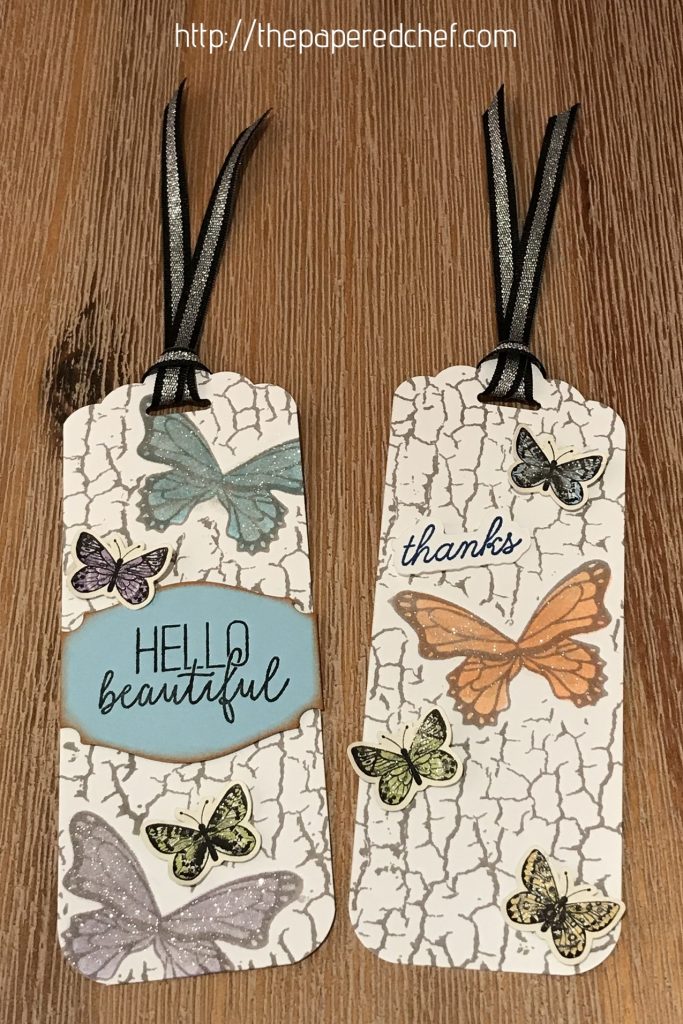
In this tutorial, you will learn how to create a stamping mask using your Brother ScanNCut. The stamp sets we are using are featured in the 2019 Occasions Catalog by Stampin’ Up! They are Butterfly Beauty and Crackled Paint. The model of Scan and Cut we are using is the CM350 or ScanNCut 2. You can follow along with any model of Brother Scan and Cut and any stamp sets you already own. The overall concept of a stamping mask is to cover up a certain part of an image while protecting another. Stamping masks are both useful and can help you achieve many artistic effects. We will use the mask to protect the butterflies while adding a background stamp which looks like Crackle Paint. Then, we will do the reverse as we sponge color the butterflies while protecting the crackle paint background. At the end of this tutorial, I share projects I created using the masking technique demonstrated here including bookmarks and a card.


Projects by The Papered Chef:


I love this idea and will give it a try. Your viideos are always so helpful. I bought a Scan and Cut after watching many of your videos. Not sure I would have been brave enough without your tutorials, so thank you very much!
Thanks Pam! I’m so glad that my videos gave you the confidence to use your machine. You are very welcome. Thanks for watching.