Ingredients:
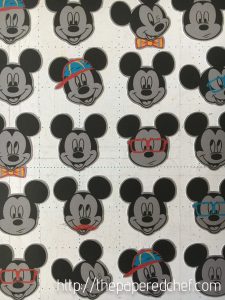
Disney Mickey Mouse paper by Sandy Lion
Brother Scan N’ Cut
Stylus tool
Spatula
Brother Scan N’ Cut mat
Recipe:
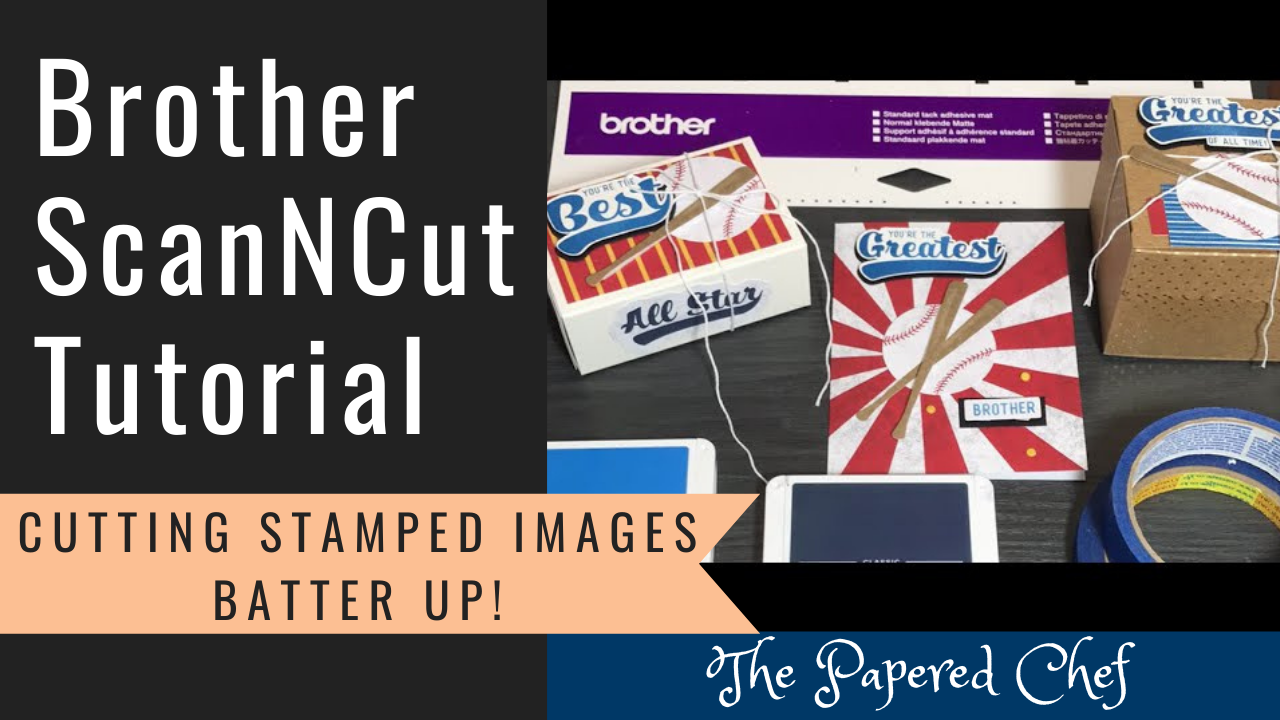
This video is a full demonstration on how to use the Brother Scan N’ Cut to cut out Mickey Mouse heads from the Sandy Lion paper which I purchased at Joann. I used a blade depth of 5 for this type of paper which feels like light card stock. I demonstrate cutting out a border around Mickey Mouse heads. Prior to the demo, I cut out a sheet of Mickey Mouse heads using the Color recognition mode which was very time consuming. In this demonstration, I used the Black and White recognition mode and was almost as successful. Almost every full Mickey head was cut. Therefore, I recommend the B & W mode for this paper. In the last part of the video, I show you I used a Mickey on the top of a mini coffee cup treat holder which was decorated and embellished using a Disney theme. Specific instructions for the mini coffee cups will be published on my blog so please check back soon.
Please visit my Stampin’ Up site to purchase products featured in this post. http://paperedchef.stampinup.net

Item Number: 144611