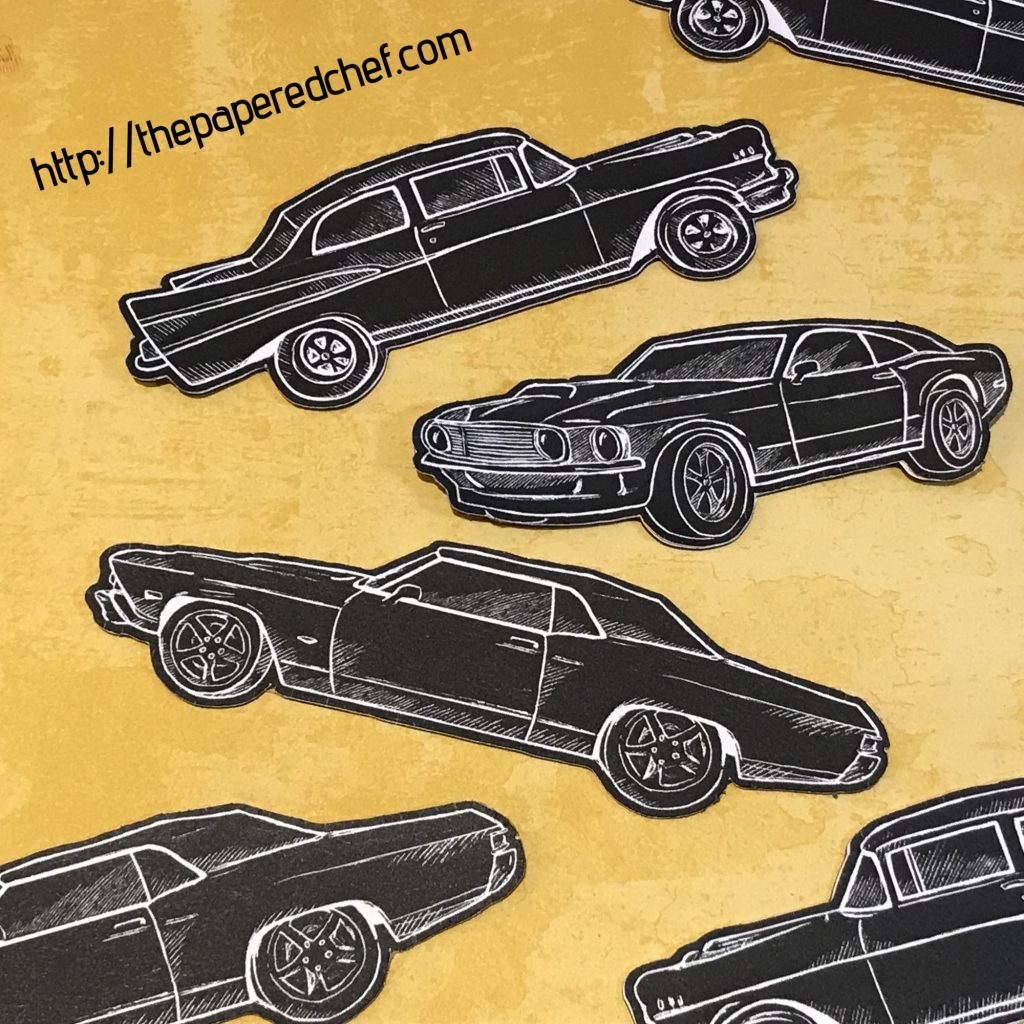
- Classic Garage 6" X 6" (15.2 X 15.2 Cm) Designer Series Paper
- Geared Up Garage Cling Stamp Set
- Jet Black Stazon Ink Pad
- Multipurpose Adhesive Sheets
- Real Red Combo Pack Stampin' Blends
- Real Red Stampin’ Write Marker
Recipe:
In this video, you will learn how to cut out car magnets using the Brother ScanNCut. The Classic Garage designer series paper is used for this tutorial. The dsp is featured in the 2019 Occasions Catalog by Stampin’ Up! The model of Brother Scan and Cut used in this tutorial is the Scan and Cut 2 or CM350. You only need the standard blade for this project. First, I show you how to scan and cut the cars. Then, I show you how to switch to magnetic material and change the blade depth. Then, I show you how to fully cover your car stickers using a small Xyron sticker maker. We stick the cars to the magnets and finish the project. The possibilities are endless. Check out my other related videos if you are interested in seeing other magnetic projects you can create with your Brother ScanNCut.
Request a printed copy of the 2019 Occasions Catalog
Other ScanNCut Tutorials on Cutting Magnetic Material:
Cutting Magnets using Brother ScanNCut – Back to School Part 7
Cutting Magnetic Material using the Brother ScanNCut – Beautiful Day by Stampin’ Up
ScanNCut – How to Create Magnets and Paper Clips using the Animal Expedition dsp by Stampin’ Up!
 Designer Series Paper")


Projects by The Papered Chef:
Subscribe to my YouTube Channel
Visit me on Pinterest
Like me on FaceBook
Follow Me on Instagram
Shop at our Etsy Store


I like this project. Question: If given the option, would you stay with your Scan N Cut 2 or get the Scan N Cut DX. I want to purchase, but not sure which to get.
Hi Beth,
I love the DX because of the Autoblade technology. I will do a complete review of that machine as well and make some side-by-comparisons which I’m not in the position to do yet. I think it is all a matter or what you will use it for and how much you can afford. The DX cuts thicker materials and has a roller for vinyl.