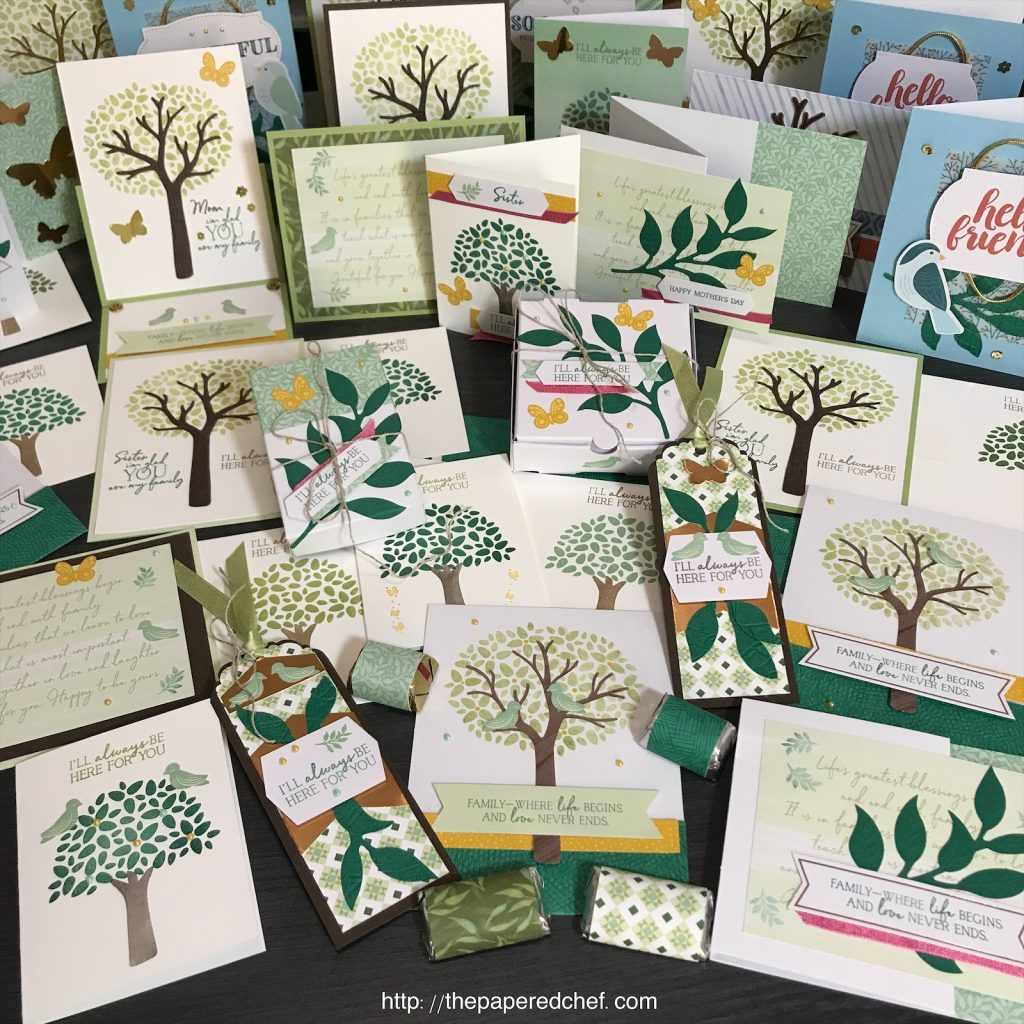
In this Brother Scan and Cut tutorial, you will learn how to use Scan to Cut Data. You will scan in the stencils from the April 2020 Paper Pumpkin Kit – My Wonderful Family and cut them out on card stock and copper foil. You will learn how to scan in a stencil, how to select, edit and save the data to be cut and how to retrieve the data. In this example, I used the stencil from the Paper Pumpkin kit and cut the leaves out on Shaded Spruce card stock. Then, I used the tree stencil and cut it out onto Copper Foil card stock. I shared how to duplicate, rotate, mirror, resize, and layer the scanned images. Then, prior to cutting them, I used auto layout to make them all fit onto the mat in the most efficient way. You learned several settings in this tutorial which can be applied to scanning in your stencils, die cut shapes, punched out shapes or even outlines of your stamped images. Use Direct Cut when you only want to cut out the outside of a scanned image and Scan to Cut Data when you want to edit and save the data you scan in. This tutorial teaches you ways to create multiple embellishments for your card projects which can be embossed to add dimension and interest.
Product List Cardstock")


")


")


Projects by The Papered Chef:
Subscribe to my YouTube Channel
Visit me on Pinterest
Like me on FaceBook
Follow Me on Instagram
Shop at our Etsy Store


Love this tip, thank you