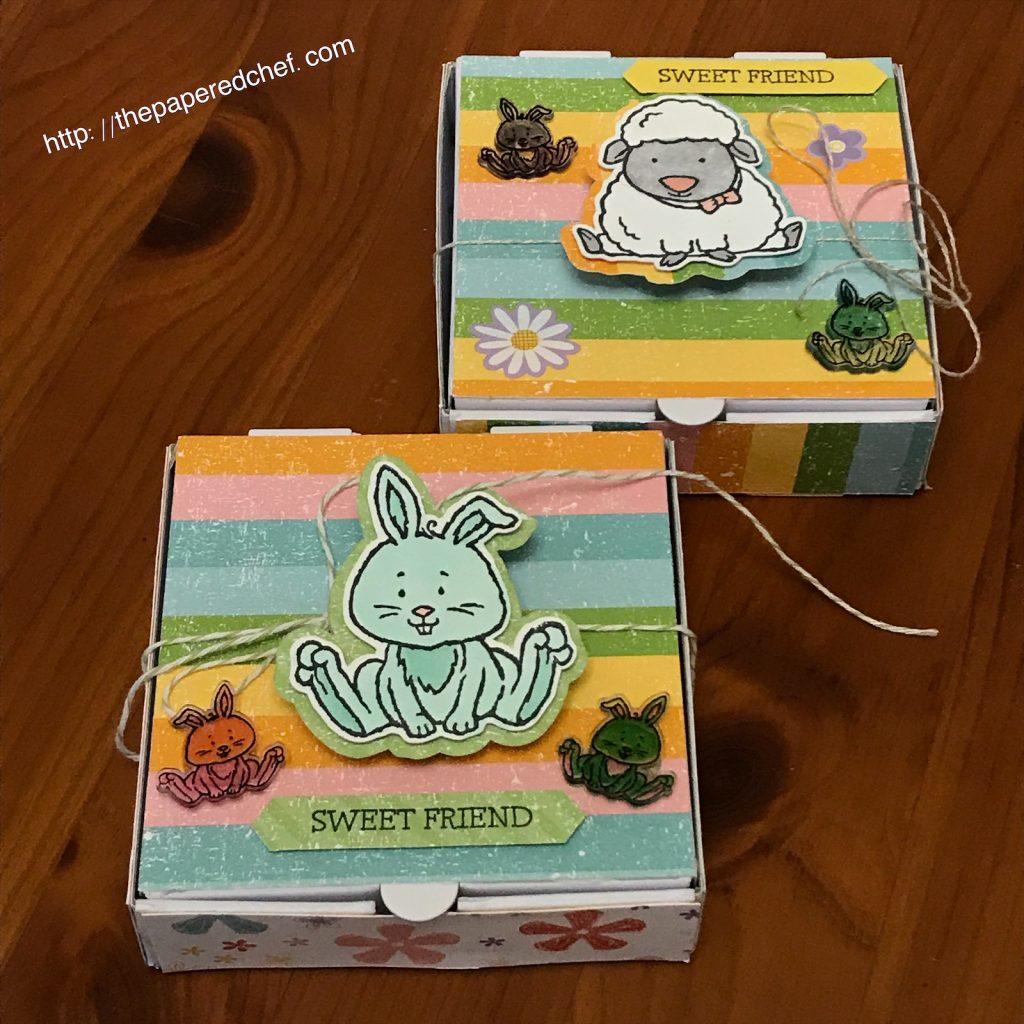
In this Brother ScanNCut tutorial, you will learn how to create Shrinky Dinks using your Brother Scan and Cut CM350. You will learn how to stamp onto the Shriny Dink plastic, how to color your Shrinky Dinks, how to cut them out using your ScanNCut CM350 or Scan and Cut 2, how to bake them and how to use them on projects. This craft is fun for the whole family. You can apply the concepts you learn to create card embellishments, trinkets, key chains, jewelry and fun shapes to play with. We used Stazon ink, Stampin’ Blends, and Sharpie markers for this project. I shared 7 projects I e embellished using the Shrinky Dinks I created in this tutorial. I shared 2 note cards, 2 mini pizza boxes, and 3 treats decorated with the bunny Shrinky Dinks. I hope you will try creating Shrinky Dinks this Spring.
Related Tutorials
Brother Canvas Workspace Tutorial – Fit to Path – Easter Egg – How to Curve Text – Brother ScanNCut
Brother ScanNCut Tutorial – Decorating Mini Pizza Boxes – Tags in Bloom & Golden Honey DSP
Projects by The Papered Chef:


Thank you Kim for doing a tutorial on using shrinky dink material. Excellent job!! I enjoyed both videos on the dx and 350 models. Very cute projects.
Thanks Carolyn, the Shrinky Dinks are sure going to keep a lot of crafters busy and put a lot of smiles on faces this Spring.