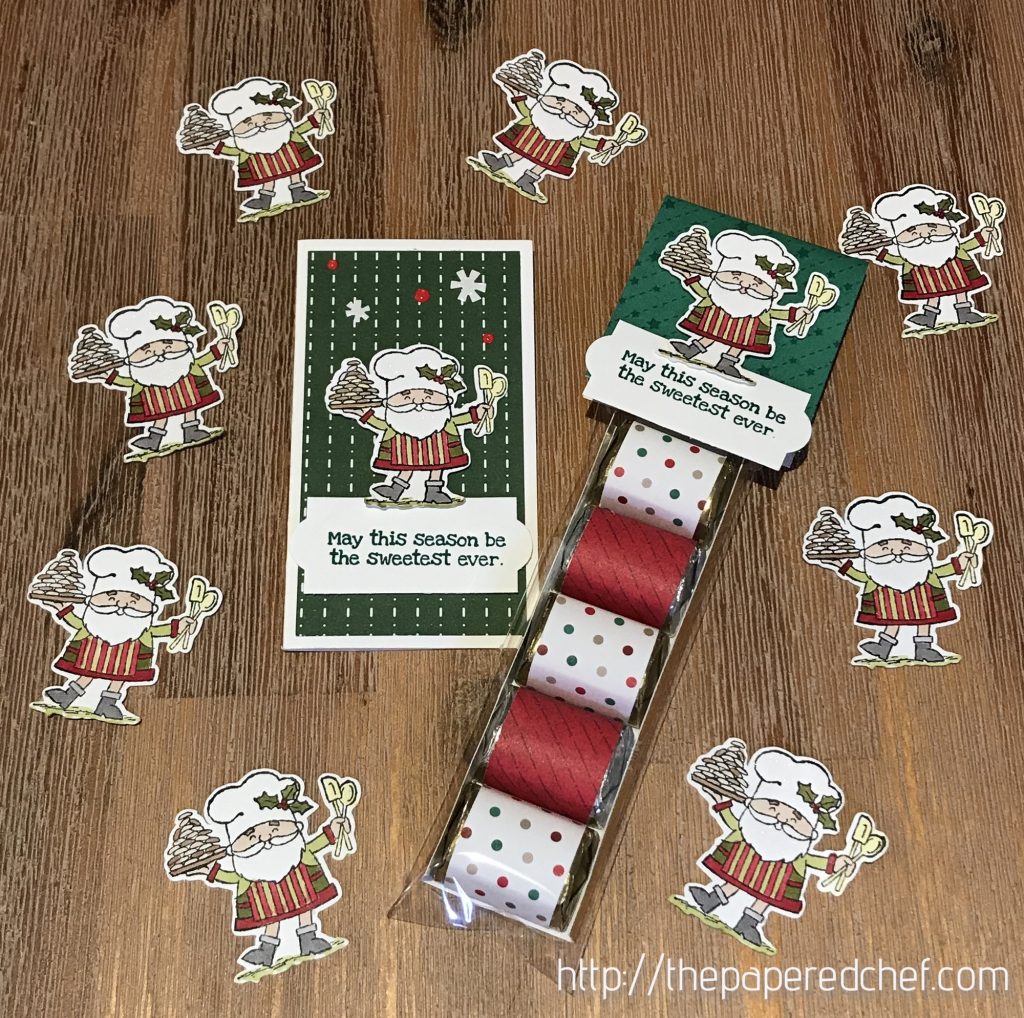
In this tutorial, I will demonstrate how to cut out stamped images using the Brother ScanNCut. The stamp set featured here is So Santa by Stampin’ Up! The stamp set is in our 2018 Holiday Catalog. Products from the catalog are available until January 2, 2019 or while supplies last. Prior to this tutorial, I stamped Santa onto Whisper White card stock using Memento Black Ink. I used a blade depth of 4 and added an outline distance of 0.04” around Santa. I showed how to remove a stamped image from the Brother Scan and Cut mat. Lastly, I showed examples of items created using the So Santa stamp set.
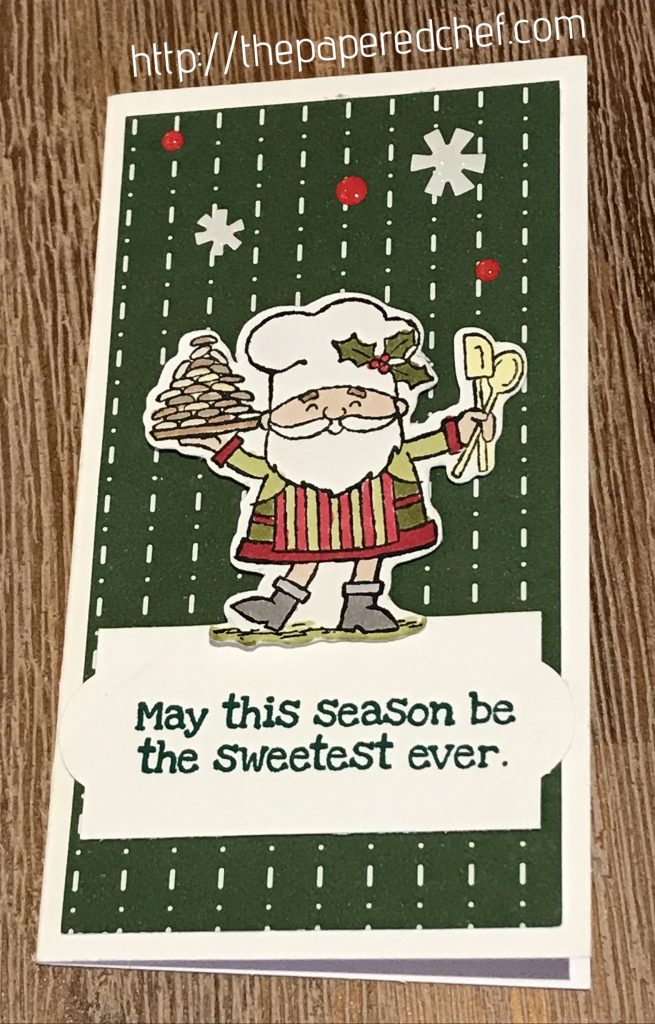


Product List:
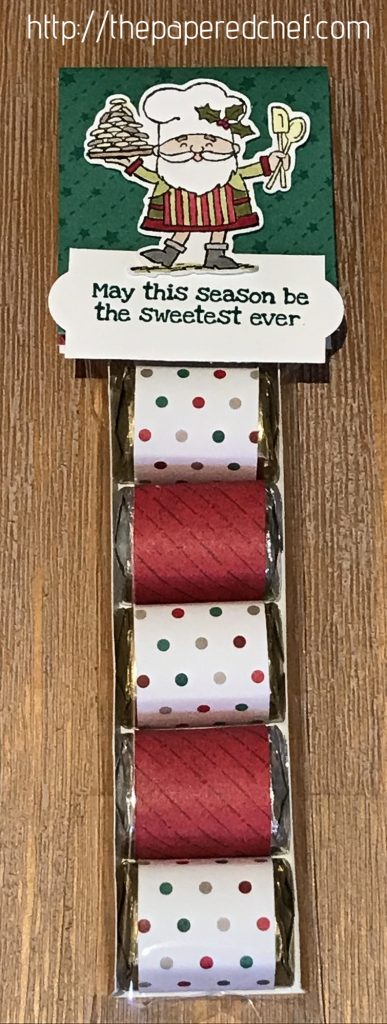
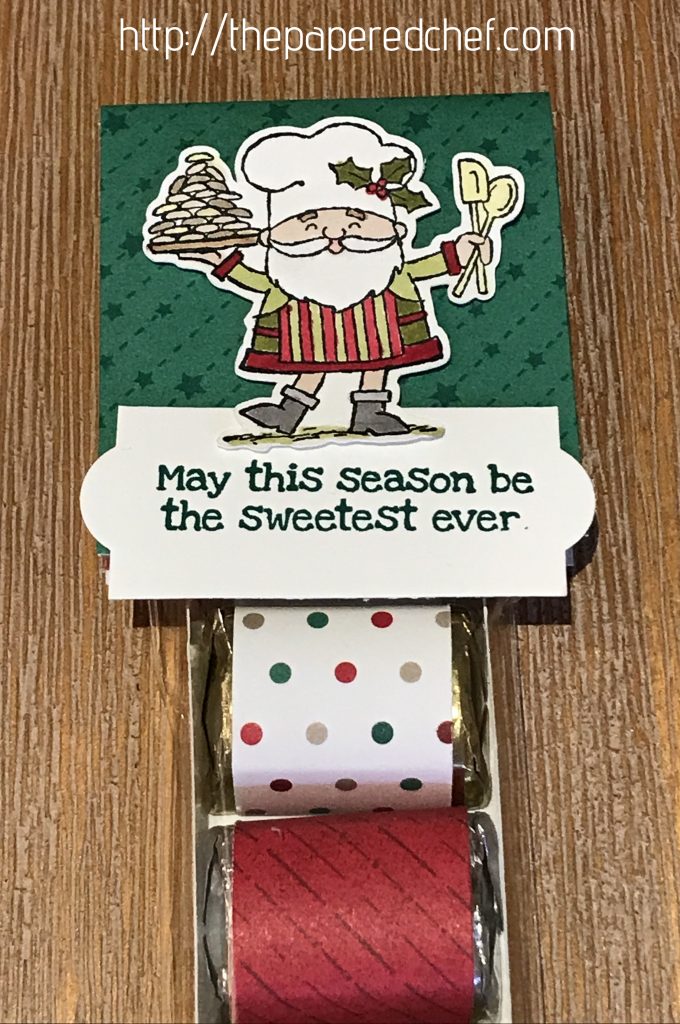
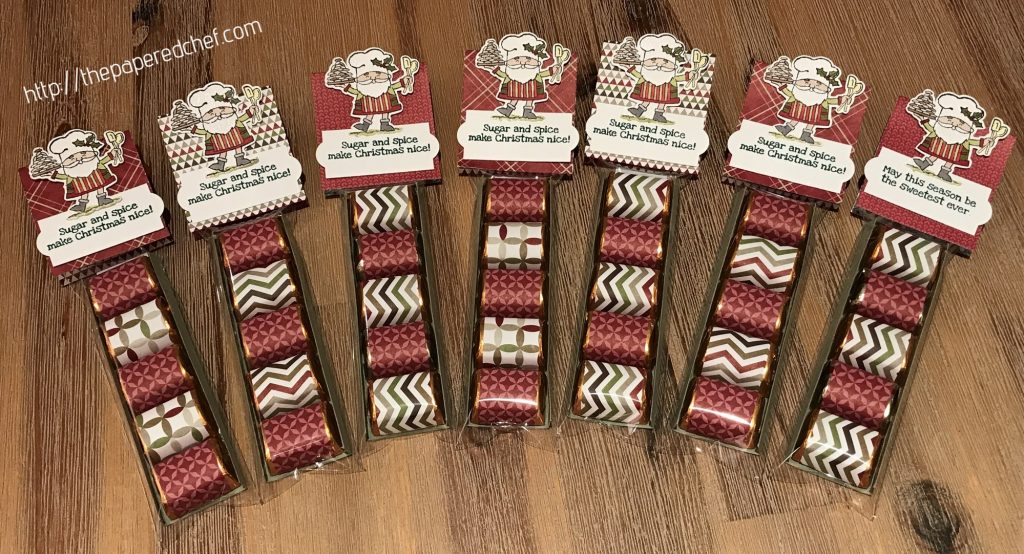
To create a tray to hold the 5 nuggets, cut the cardstock 5” by 2.25” and then score at 3/8″ on each side. To wrap each nugget, cut each piece of the All is Bright designer series paper 3.25” by 1”. Use rolling adhesive for adhering the paper. Don’t use liquid glue as it could seep into the candy which is only lightly foiled. Place 5 nuggets horizontally into each tray, alternating patterns. Use one line of rolling adhesive to help hold the Nuggets in place. Cut each topper from the All is Bright designer series paper. The topper is 5” by 2.25” and scored at 2.5”. Adhere the sentiments to the toppers using foam adhesives. Note: If you are selling these at craft fairs, be sure to inform customers that the Nuggets contain nuts.
More Projects by The Papered Chef:
Subscribe to my YouTube Channel
Visit me on Pinterest
Like me on FaceBook
Follow Me on Instagram
Shop at our Etsy Store


I love it , thanks for sharing, and thank you for getting back to me , your the best , I was hoping to have met you at convention in Orlando, but I understand,
Maybe next time , my stampin fried /SandNcut , I love my machine ♥️♥️♥️,
Tfs and for your videos ♥️♥️♥️
Another great video. tfs
Thanks Frenchie and Gail. Frenchie, I went to On Stage in Paris so you would never have found me in Orlando. Maybe next time we can meet up, depending on where I go.