Ingredients:
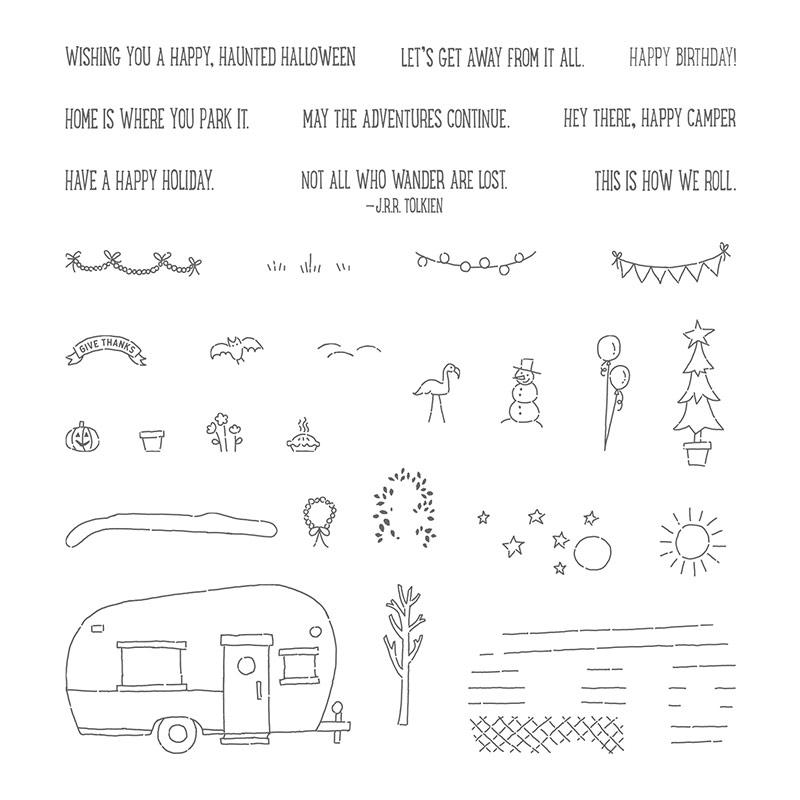
Glamper Greetings stamp set
Brother Scan N’ Cut
Spatula and stylus tools
Brother Scan N’ Cut mat
Recipe:
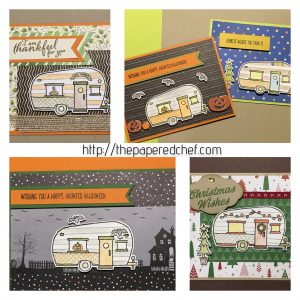
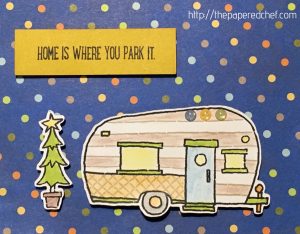
In this video demonstration, I walk you through the steps I used to cut out stamped images from the Glamper Greetings stamp set by Stampin’ Up. To prepare for this tutorial, I stamped images onto Whisper White card stock and attached the sheet to the mat using Painter’s Tape. I also rubbed the paper with a spatula to help adhere it to the mat. I scanned in the page, and cut out the campers/RV, some trees, bats, and snowmen. I used a blade depth of 5 and added an outline to each image. After making several cards using the cut images, I walked through the materials that I used to color and embellish each of the 5 cards featured in this video. Visit my Stampin’ Up store to find items featured in this post.
Item Number: 142202
Related Posts:
This Little Piggy Loves the Scan N’ Cut
http://thepaperedchef.com/this-little-piggy-loves-the-scan-n-cut
Using the Brother Scan N Cut to cut out Coffee Break DSP
http://thepaperedchef.com/using-the-brother-scan-n-cut-to-cut-out-coffee-break-dsp
Top 5 Reasons why Every Crafter Needs a Brother Scan N Cut (with lots of visual examples)
http://thepaperedchef.com/top-5-reasons-why-every-crafter-needs-a-brother-scan-n-cut
Cutting out Stamped Images with the Brother Scan N’ Cut – Crafting Forever
http://thepaperedchef.com/cutting-stamped-images-brother-scan-n-cut-crafting-forever
The Papered Chef Recommends:
Item Number: 144118


I see you used tape to hold down the top of your paper before you scanned. I have had a few problems with the paper lifting.