Ingredients:
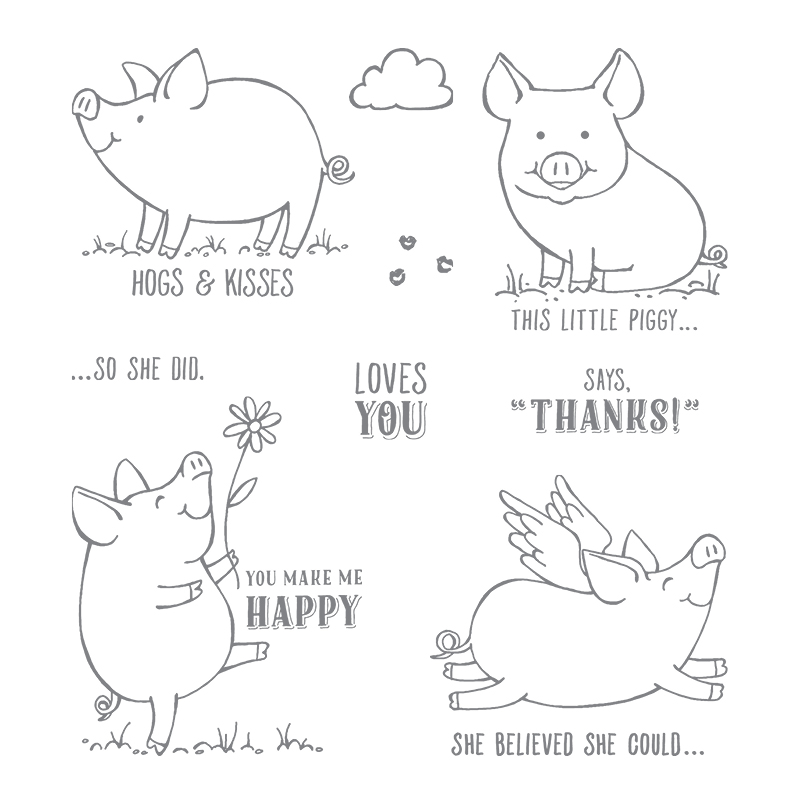
Stampin’ Up This Little Piggy stamp set
Stampin’ Up Coffee Café stamp set
Stampin’ Up Powder Pink ink
Stampin’ Up Basic Black ink
Stampin’ Up Soft Suede ink
Powder Pink Card Stock
Whisper White Card Stock
Coffee Break Designer Series Paper
Brother Scan N’ Cut
Fiskars Grass Border Punch
Scotch Advanced Tape Glider, Snail, or other Rolling Adhesive
Stampin’ Up dimensionals or foam adhesives
Glue Dots
Sponges or Sponge Daubers
Aqua Painter or Blending Pen
Wink of Stella Brush
Recipe:
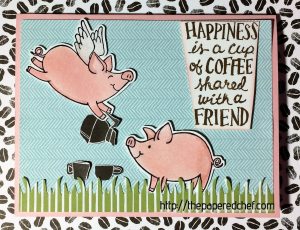
The card base is Power Pink. The card is 5.5” by 4.25”. Use rolling adhesive to adhere each 5.25” by 4” mat of paper from Coffee Break designer series paper (dsp). Stamp the sentiment from the Coffee Café stamp set using Soft Suede ink. Cut it out and ink the edges using Power Pink. Adhere to the dsp using foam adhesives. Stamp the pigs from the This Little Piggy stamp set using Basic Black ink. Stamp several onto Whisper White so that you have extras. Cut out the pigs using the Brother Scan N’ Cut. See my blog post: This Little Piggy Loves the Scan N Cut for a demonstration. Cut the coffee pot and cups out of Coffee Break dsp. See by blog post: Top 5 Reasons why Every Crafter needs a Brother Scan N’ Cut for a demonstration of how to cut patterned paper using the Scan N Cut. Color the pigs with a sponge, marker, blender pen and/or aqua painter. Color the wings with a Wink of Stella brush. Cut out the grass from a strip of Coffee Break dsp using the Fiskars Grass Border Punch. Adhere it to the mat using rolling adhesive. Then, attach the little pigs with foam adhesive and the coffee pot and coffee cups with glue dots.
Please visit my Stampin’ Up site to purchase products featured in this post. http://paperedchef.stampinup.net
Item Number: 143922


LOVE IT!!! You are so creative! Thanks for sharing your ideas with us. 🙂
Really cute!!
Thank you for your comments Lisa and Linda. This is my favorite of my Perked Up Pigs series.
So very cute. Ok to share? Would love to copy for my group!
Yes Nancy, feel free to share this. Just be sure to include a link to my blog where the members of your group can find the recipe and instructions for making the project.