Ingredients:
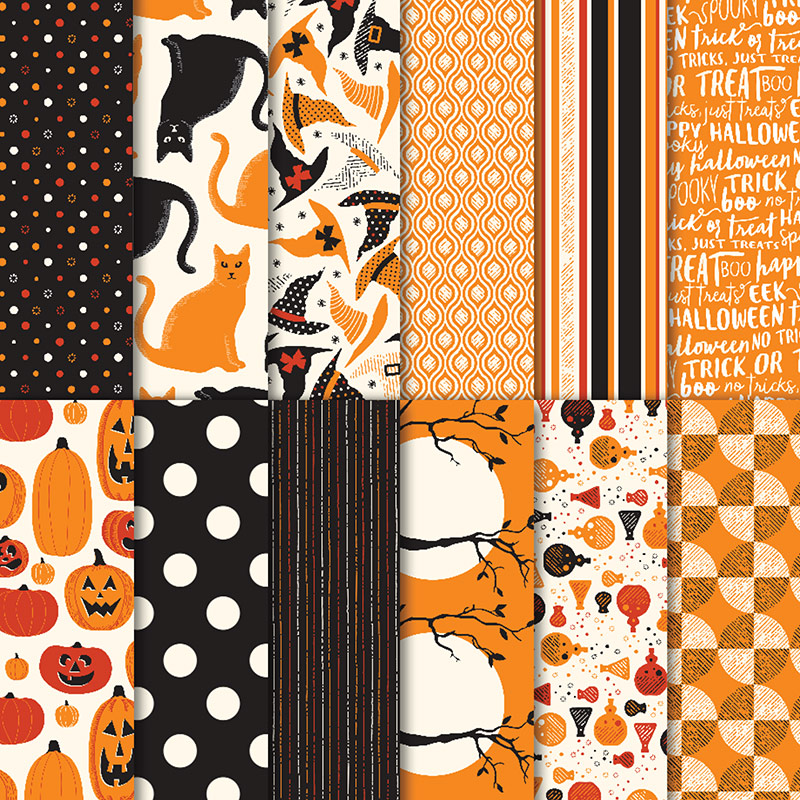
Stampin’ Up Spooky Night designer series paper
Stampin’ Up Spooky Cat stamp set
Basic Black ink
Pumpkin Pie card stock
Basic Black card stock
Very Vanilla card stock
Classic Label Punch
Duet Banner Punch
Brother Scan N’ Cut
Rolling Adhesive
Dimensionals or Foam Adhesives
Glue Dots
1” Cellophane Bags
M&Ms or Skittles
Recipe:
Cut the designer series paper into 5” by 1.5” or 2″ sections. Then, score at 2.5”. Stuff the bags with M&Ms or Skittles wiggling the 1” bags to help guide the candy down to the bottom. Leave enough room to fold about an inch of plastic over so that there is about a half inch to attach the topper to. About 20 regular M&Ms or 17 Skittles will leave you enough room for attaching the topper. Attach the topper with rolling adhesive. Stamp the Happy Halloween sentiment from the Spooky Cat stamp set onto Pumpkin Pie card stock. Punch out the sentiment with the Classic Label punch. Punch out a banner from the Duet Banner Punch and layer the Happy Halloween sentiment onto it. Stamp the witch hat from the Spooky Cat stamp set onto Very Vanilla card stock. Cut out the hats and pumpkins using the Brother Scan N’ Cut. The large witch hats were cut with a border and the small hats and pumpkins were cut without a border. Attach the sentiments, hats, and pumpkin embellishments to the tag topper using foam adhesives.
Item Number: 144610
The Papered Chef Recommends:
Related Posts:
Cookie Cutter Halloween Treats
Cutting out Pumpkins with the Brother Scan N’ Cut – Spooky Night DSP
Witches Brew with Scream & Sugar – Spooky Night Cards
This Little Piggy says Trick or Treat


I really like your treat project. Did you use the 1 x 7″or 1x 10″ cello bags?
I used the 1 by 7 inch ones. I hope that if you purchase them, you will use the link to Amazon within this post. I get them from Amazon and they always arrive within a week.