Ingredients:
Stampin’ Up Spooky Night designer series paper
Stampin’ Up Cat Punch
Brother Scan N’ Cut
Brother Scan N’ Cut mat
Recipe:
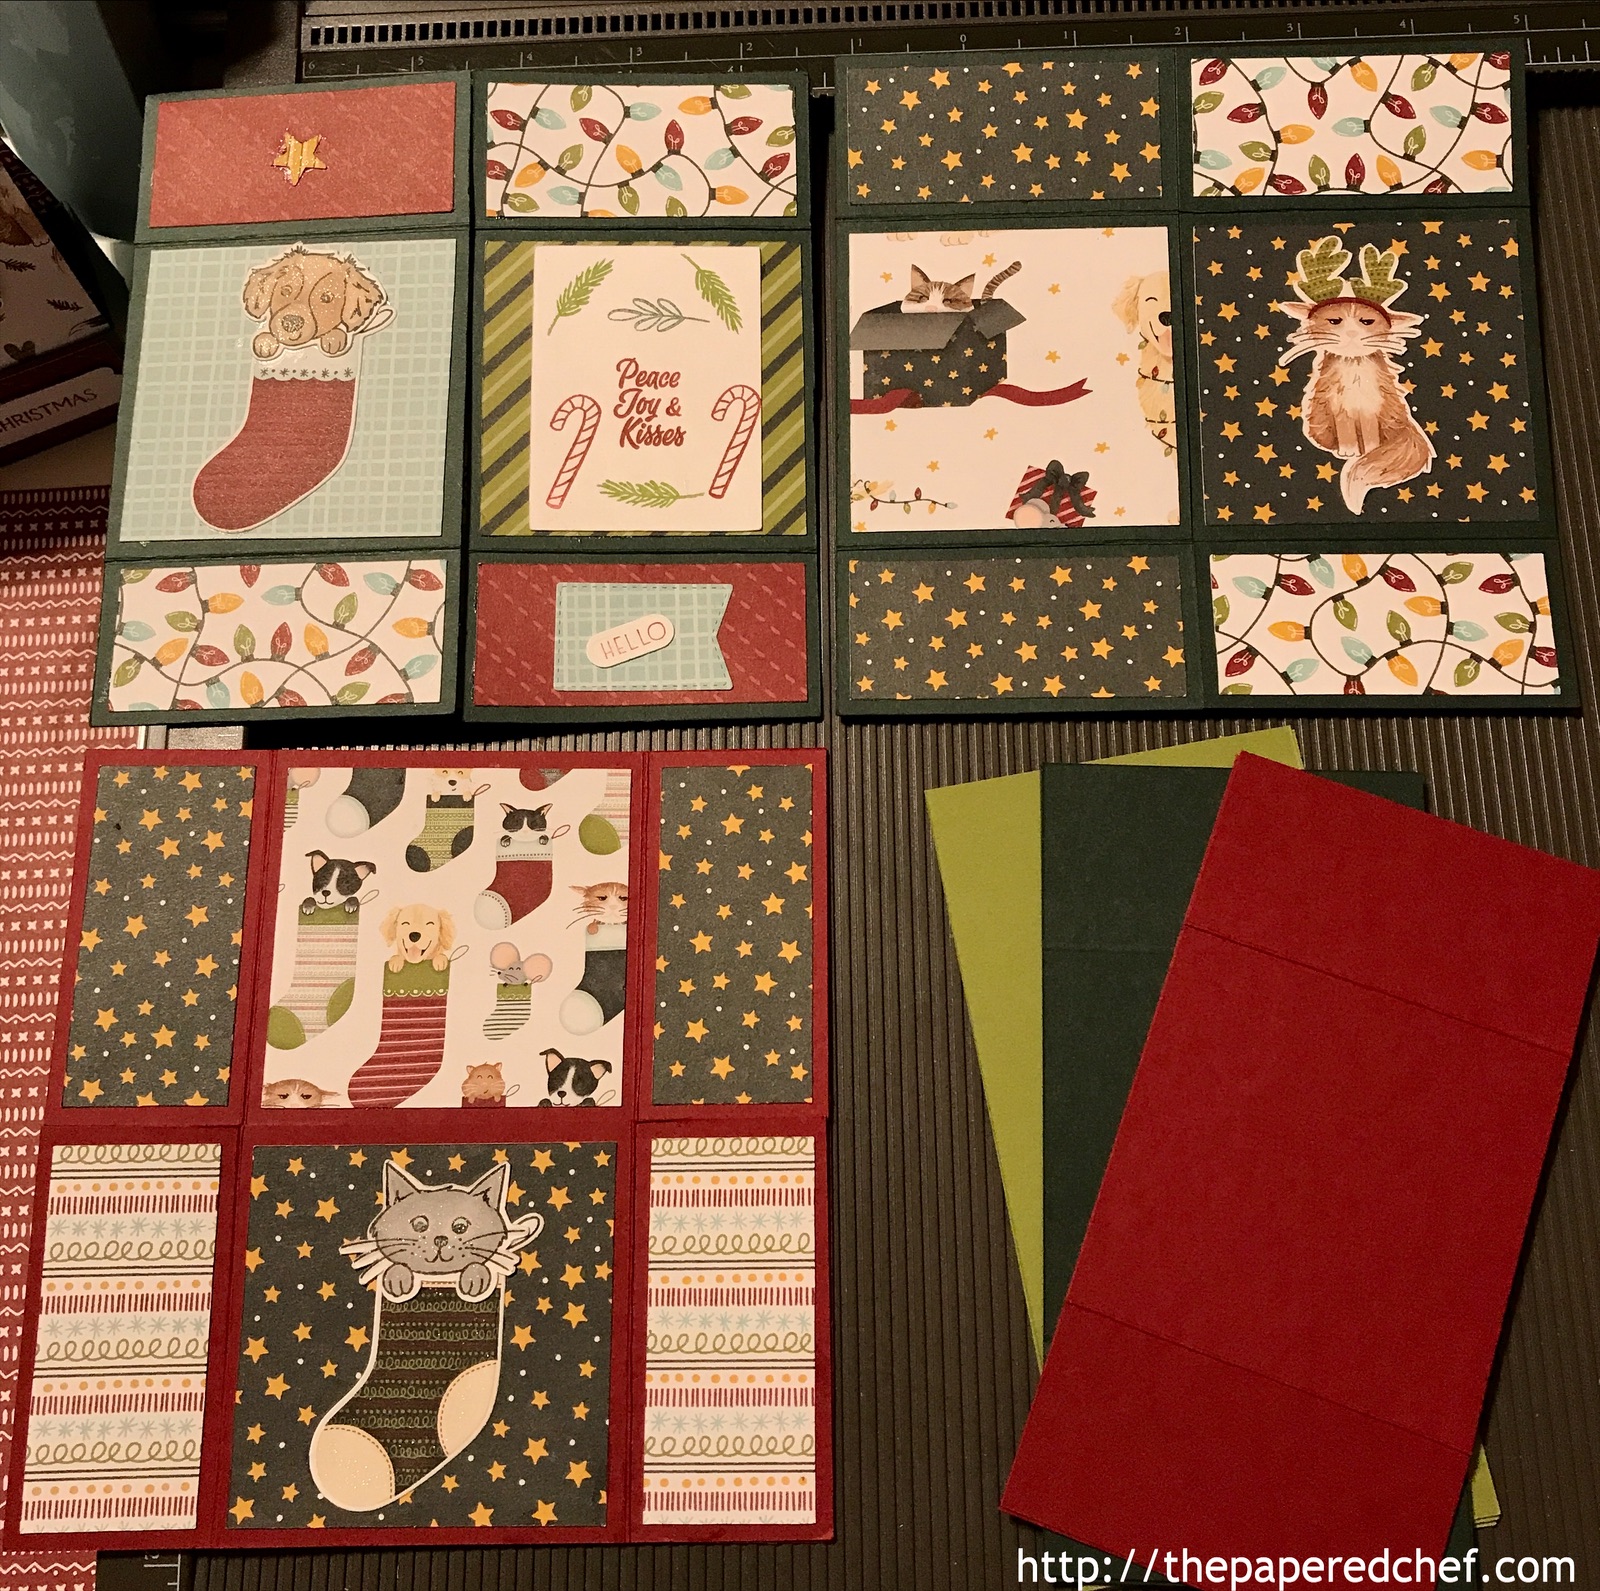
In this video demonstration, I walk you through the steps I used to cut out mini pumpkins from the new Spooky Night designer series paper by Stampin’ Up. I used a blade depth of 4 and cut the pumpkins without an outline so that the images wouldn’t overlap. I provided a tip for easily removing the pumpkins from the mat. I also gave viewers a sneak peek at the other patterns in the pack including the cat pattern. I show the cats which I punched out and compared that to the ones that I cut out using the Brother Scan N’ Cut. For the cats, I added an outline of 0.4” around each image. I commented on which papers in the Spooky Night series would be easy to cut out and which wouldn’t. The demonstrated techniques can be used to cut patterns out of any of your papers, keeping in mind that the images need to have a solid line around them. The coordinating colors are: Basic Black, Cajun Craze, Pumpkin Pie, and Very Vanilla. Please visit my blog to find out what I make with these cute pumpkins, cats and hats from the Spooky Night dsp. Products demonstrated here will be available on September 1st from http://thepaperedchef.net
Top 5 Reasons why Every Crafter Needs a Brother Scan N Cut (with lots of visual examples)
http://thepaperedchef.com/top-5-reasons-why-every-crafter-needs-a-brother-scan-n-cut
The Papered Chef Recommends: