Ingredients:
- Fable Friends Cling Stamp Set
- Tuxedo Black Memento Ink Pad
- Whisper White 8-1/2″ X 11″ Card Stock
- 2″ X 8″ (5.1 X 20.3 Cm) Cellophane Bags
- Gingham Gala 6″ X 6″ (15.2 X 15.2 Cm) Designer Series Paper
- SNAIL Permanent Adhesive
- Stampin’ Dimensionals
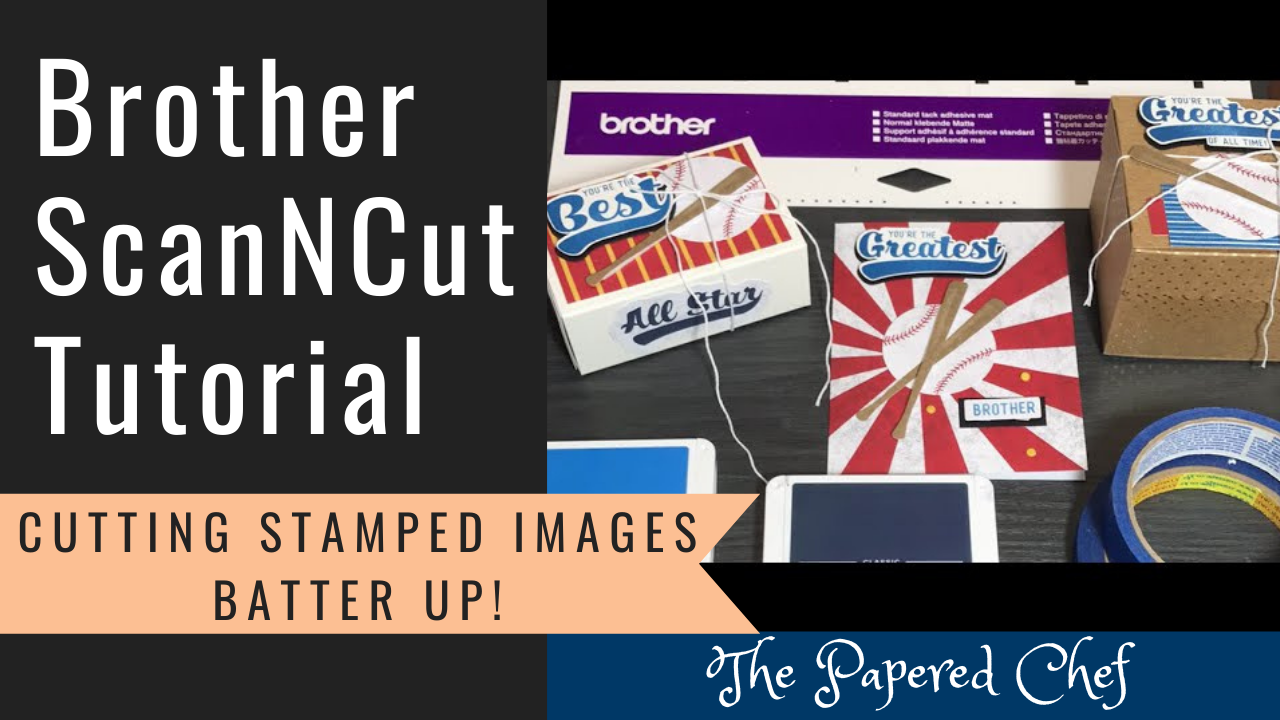
- Brother ScanNCut
Recipe:
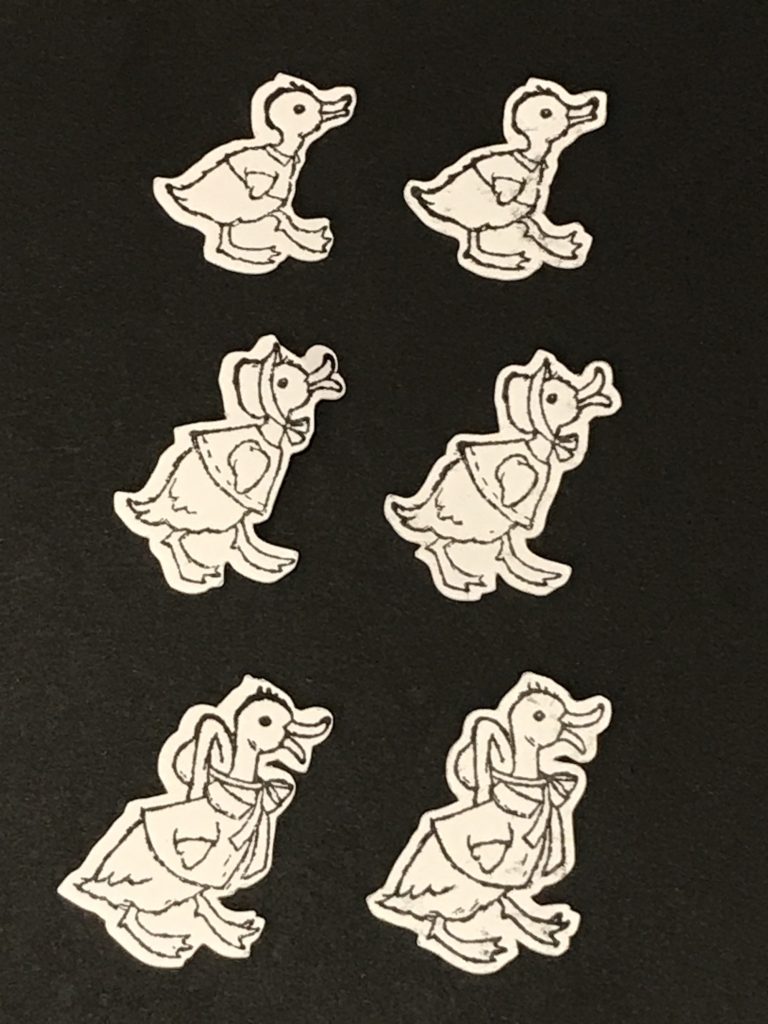
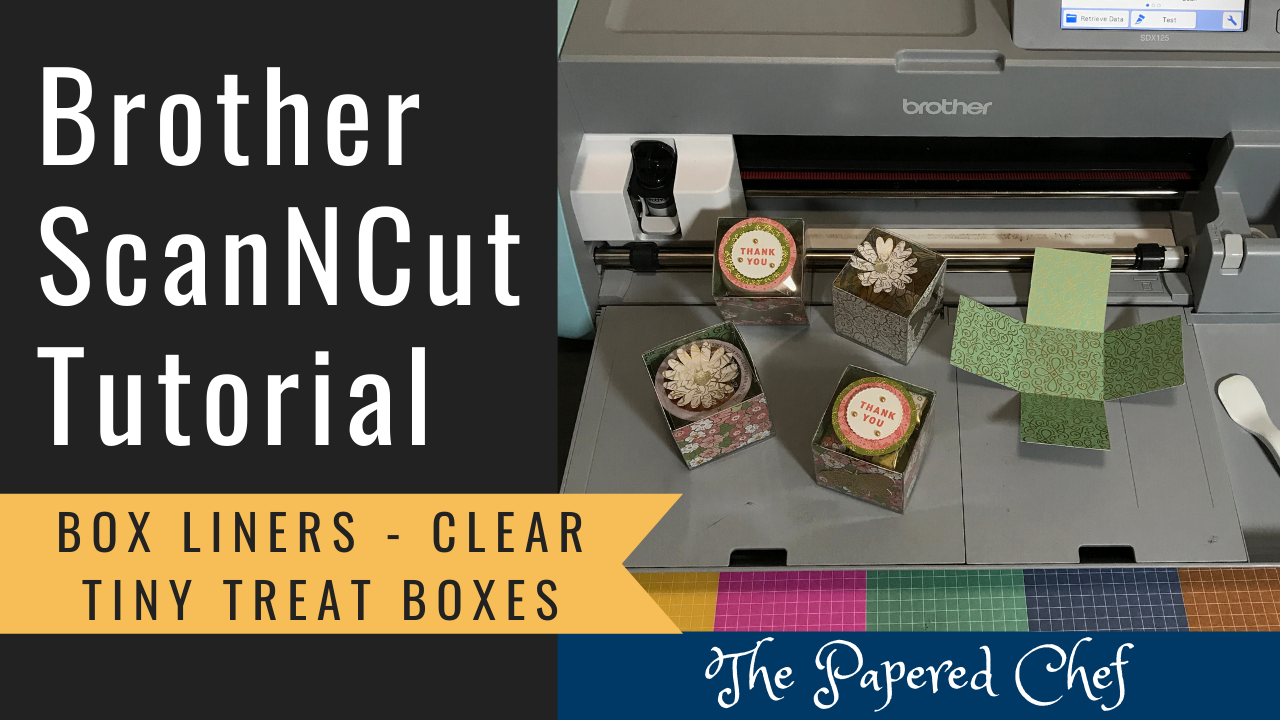
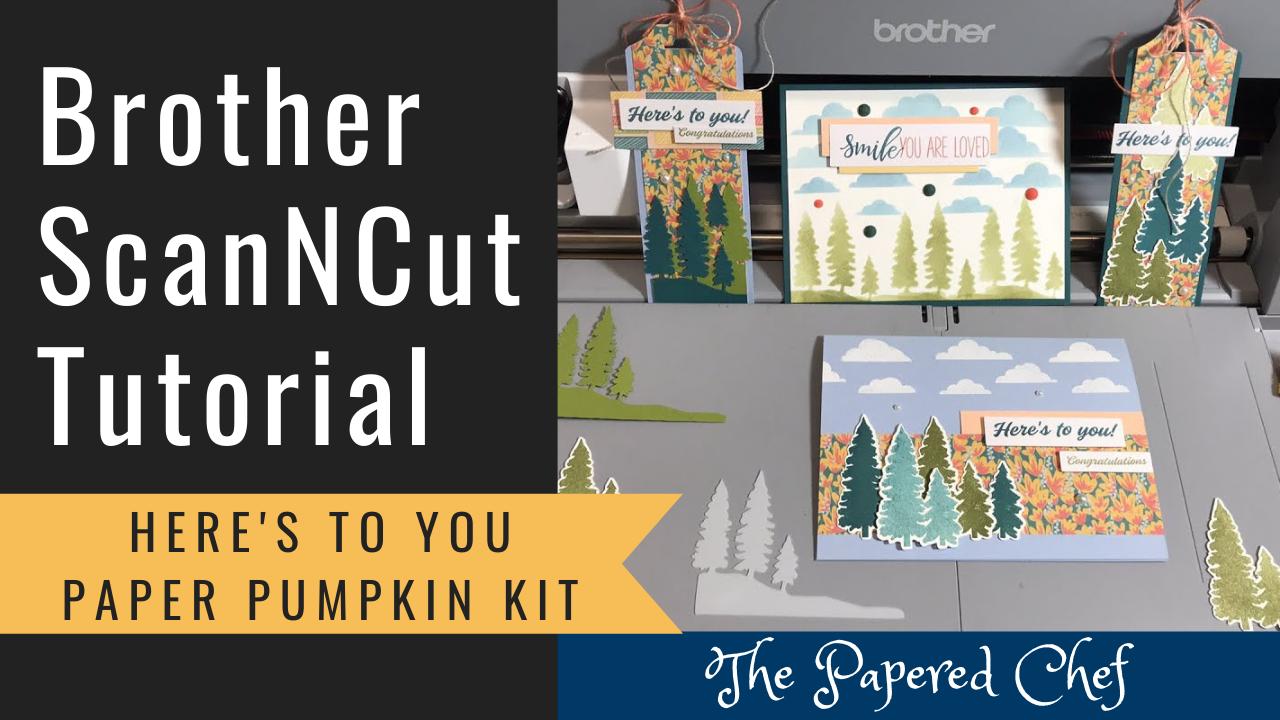
In this tutorial, you will learn how to use the setting: Scanning/Cutting Position Adjustment. This troubleshooting tip is useful when you cut out stamped images or shapes from patterned paper and the outline distance around them is not even. In this example, I stamped ducks from Fable Friends. There was more white space on the left side of each duck than on the right side. The way to fix this is by using the Scanning/Cutting Position Adjustment setting. Load a piece of 12 by 12 white card stock into your machine. The ScanNCut will cut lines and then scan them. You move the arrow keys until the cross hair is in the center of the intersecting lines. I used the CM350 or Brother Scan and Cut 2 for this tutorial. You will have the setting on your machine, even if it is not located on page 4 of your settings/tools.


Product List:


 Cellophane Bags")
 Designer Series Paper")


More Projects by The Papered Chef:
Thank you sooo much for this tutorial I have this problem right now. Talk about perfect timing!
Hi Marie, I’m so glad to hear that this tutorial was both timely and relevant. Thanks for your comment.