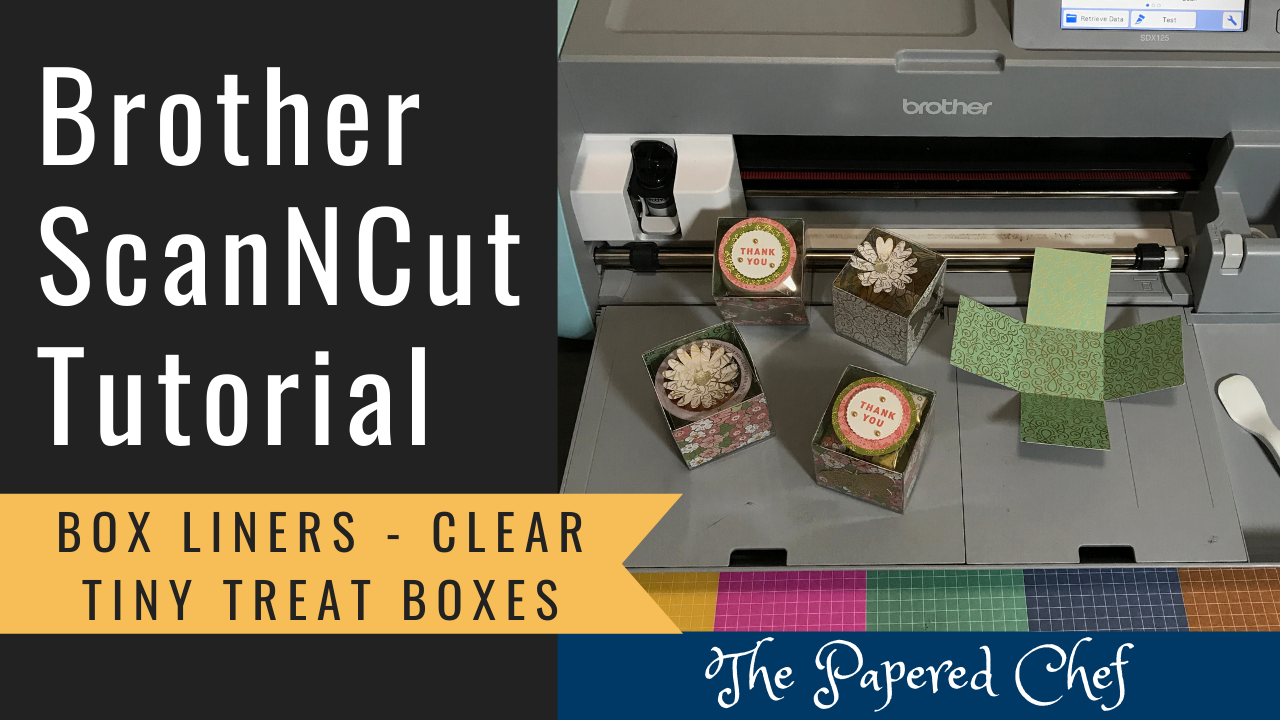
In this tutorial, you will learn how to personalize a coffee mug using your Brother ScanNCut. The model of Scan and Cut used is the CM350 or ScanNCut 2. First, I showed how to use the PC version of Brother Canvas Workspace to access a font on my computer called Milkshake. I placed text onto the screen, enlarged it and then I went to Process Overlap, Weld to weld most of the letters together. This creates a smoother look for the mug or jar you are decorating. The fewer the pieces to cut out, the better. Next, I shared how to resize the text to fit onto my coffee mug project. I personalized the coffee mug for my friend Nicole. I showed how to save and transfer the file to your Brother ScanNCut machine. Then, I showed you how to retrieve the file on the CM350 and cut it out on vinyl. I used a Blade Depth of 1.5 for cutting out vinyl. This is a kiss cut in that it cuts through the top layer of vinyl and not the backing. Next, I demonstrated how to remove the vinyl not used, leaving just the font on the backing. I demonstrated how to use weeding tools to get rid of the inside pieces so that just the word Nicole was left behind. Then, I used Transfer Tape to apply the vinyl to the mug.


Projects by The Papered Chef:
