In this tutorial, you will learn how to enlarge shapes you punch out using the Brother ScanNCut. The model of Scan and Cut used for this tutorial is the CM350 or ScanNCut2. I used the Bunny Builder Punch by Stampin’ Up! to punch out shapes out of Whisper White card stock. Then, I took those shapes and adhered them onto black cardstock for contrast. Then, I scanned them in using Scan to Cut Data. I selected the first option which was to select the outer lines of the shapes. Then, after selecting just the part of the screen with the bunny parts, I scanned it in. I saved the small bunny parts onto the machine. Then, I deleted the pattern from the machine and went back to the Home screen. There, I selected Pattern, Saved Data and retrieved the file. I demonstrated how to group, resize and rotate the shapes so that you can fit two large bunnies on a piece of Powder Pink cardstock.
Width of Grouped Bunny Parts = 6″
Blade Depth = 5
After cutting out the bunny parts, I showed how to use Soft Sea Foam and a sponge dauber to ink around the edges of the bunny for dimension. Then, I showed a finished project and compared that to an original size bunny made from the Bunny Builder Punch.


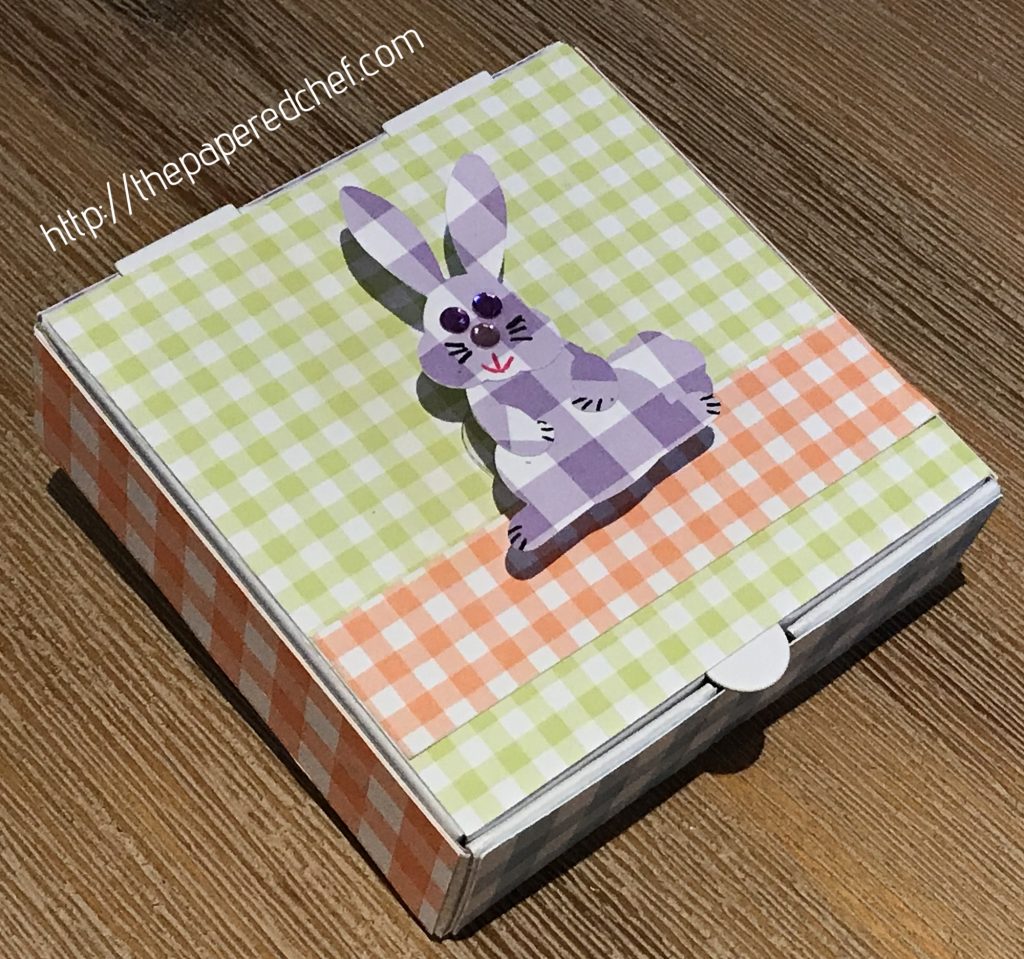
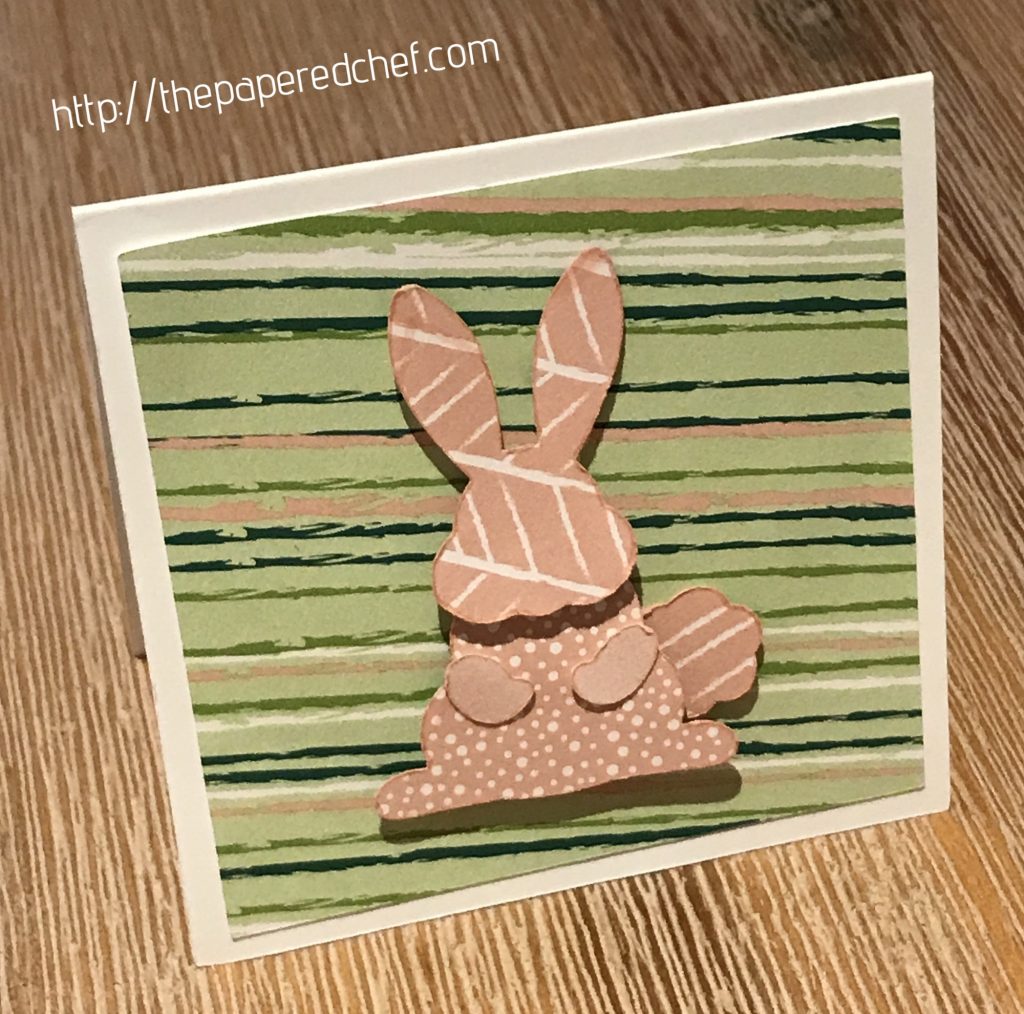
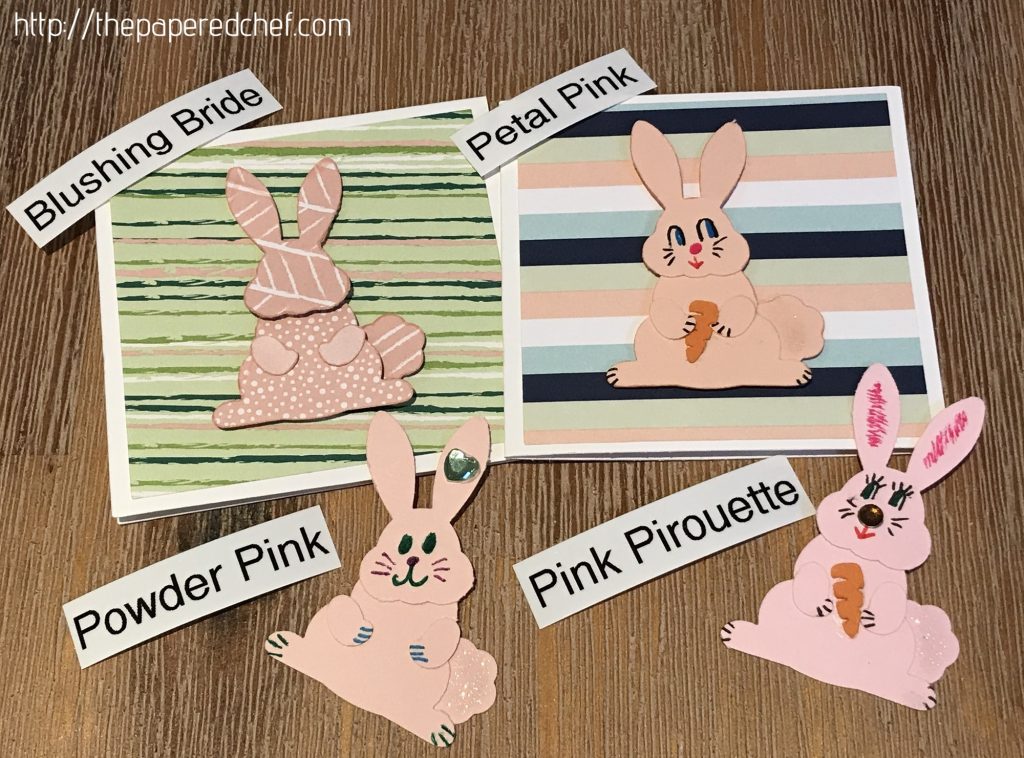
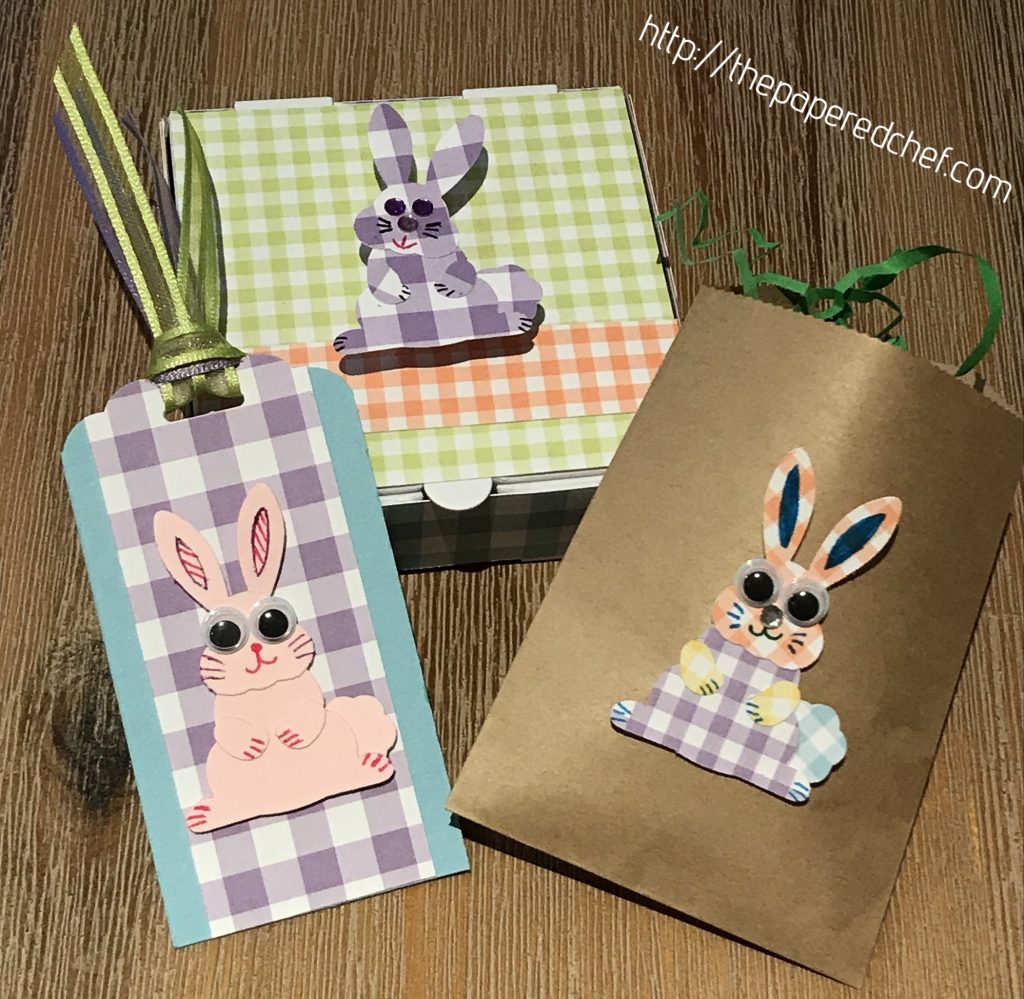
In this video, I demonstrate how to use the Bunny Builder Punch by Stampin’ Up!. It is a product from the 2018-2019 Annual Catalog. I used the Tropical Escape designer series paper to punch out the bunny parts. Then I showed how to ink around the parts for added dimension. Then, I assembled the bunny and showed you loads of examples of how to use bunnies from the Bunny Builder Punch. My friend Gigi and I created bunnies using for different shades of pink by Stampin’ Up! including: Blushing Bride, Petal Pink, Powder Pink, Pink Pirouette. The examples included treat bags, a bookmark or bunny tag, mini note cards and a mini pizza box decorated with Gingham Gala designer series paper. The box was filled with Hershey Miniatures.
Projects by The Papered Chef:
Subscribe to my YouTube Channel
Visit me on Pinterest
Like me on FaceBook
Follow Me on Instagram
Shop at our Etsy Store


