Ingredients:
- Happy Tails Photopolymer Stamp Set
- Dog Builder Punch
- Classic Garage 6″ X 6″ (15.2 X 15.2 Cm) Designer Series Paper
- Crushed Curry 8-1/2″ X 11″ Card Stock
- Crumb Cake 8-1/2″ X 11″ Card Stock
- Crumb Cake Classic Stampin’ Pad
- Soft Suede Classic Stampin’ Pad
- Smoky Slate Classic Stampin’ Pad
- Tuxedo Black Memento Ink Pad
- Tag Topper Scalloped Punch
- 5/8″ (1.6 Cm) Burlap Ribbon
- Crushed Curry Baker’s Twine
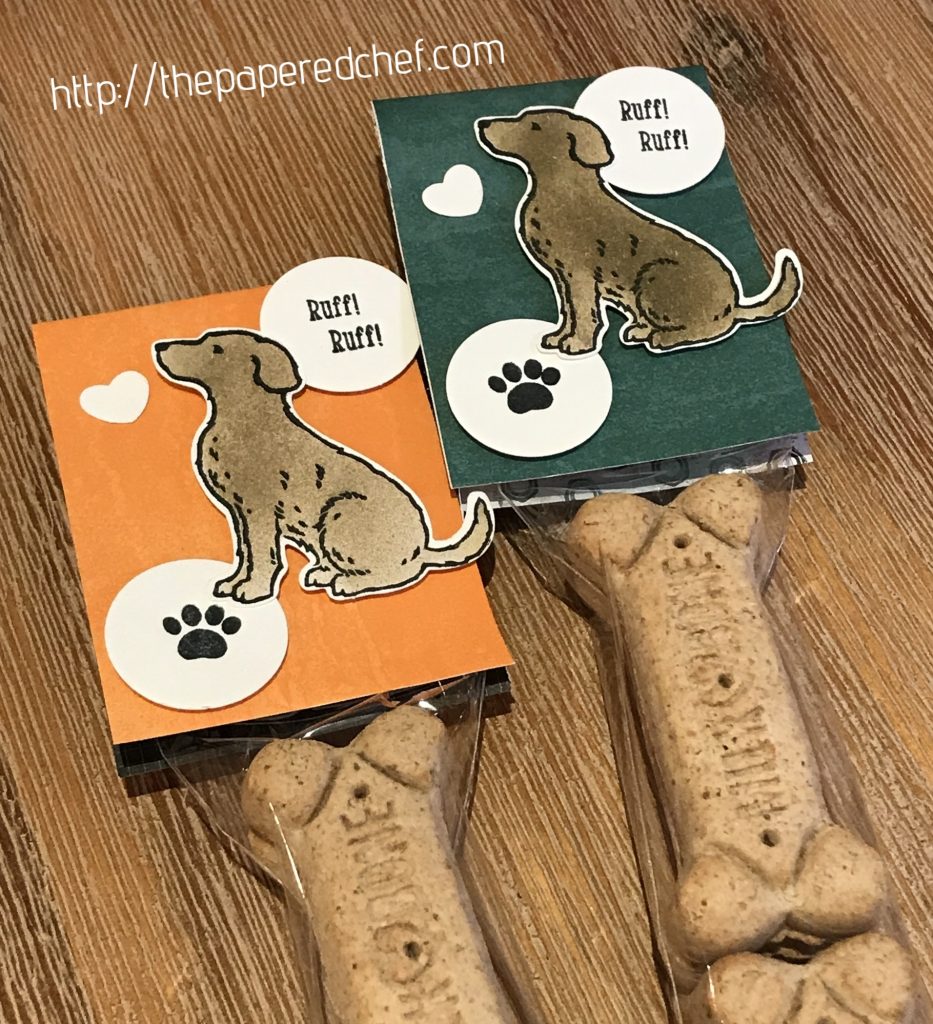
- 2″ X 8″ (5.1 X 20.3 Cm) Cellophane Bags
- Stampin’ Dimensionals
- Happy Tails Photopolymer Bundle
- Whisper White 8-1/2″ X 11″ Card Stock
Recipe:
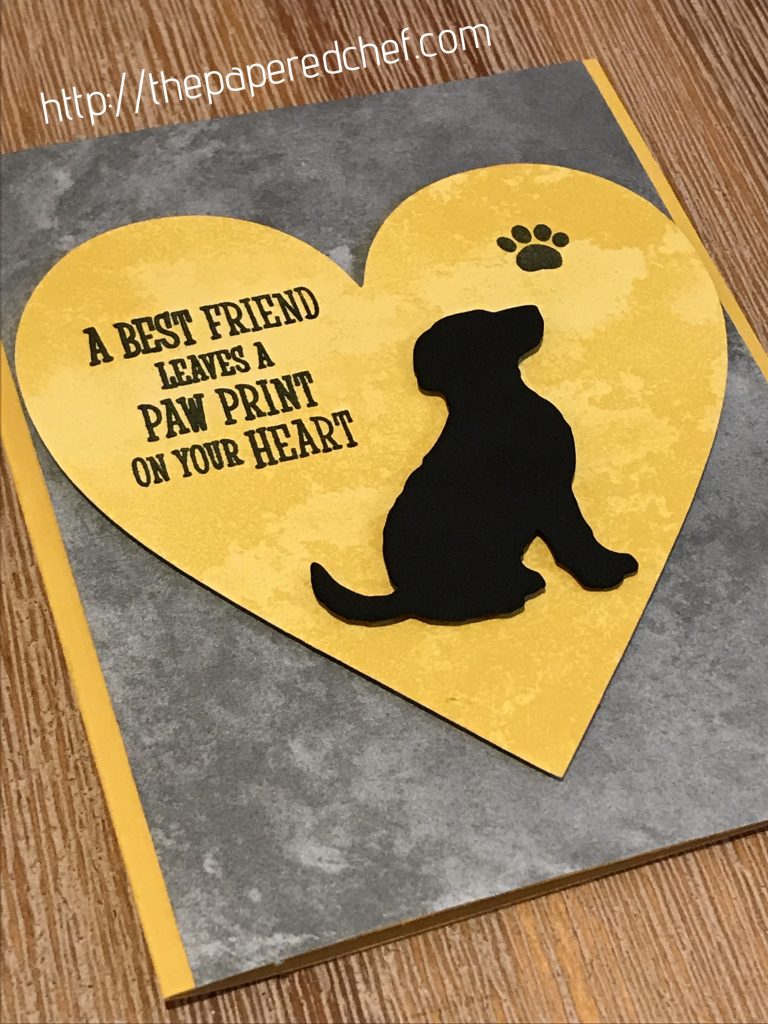
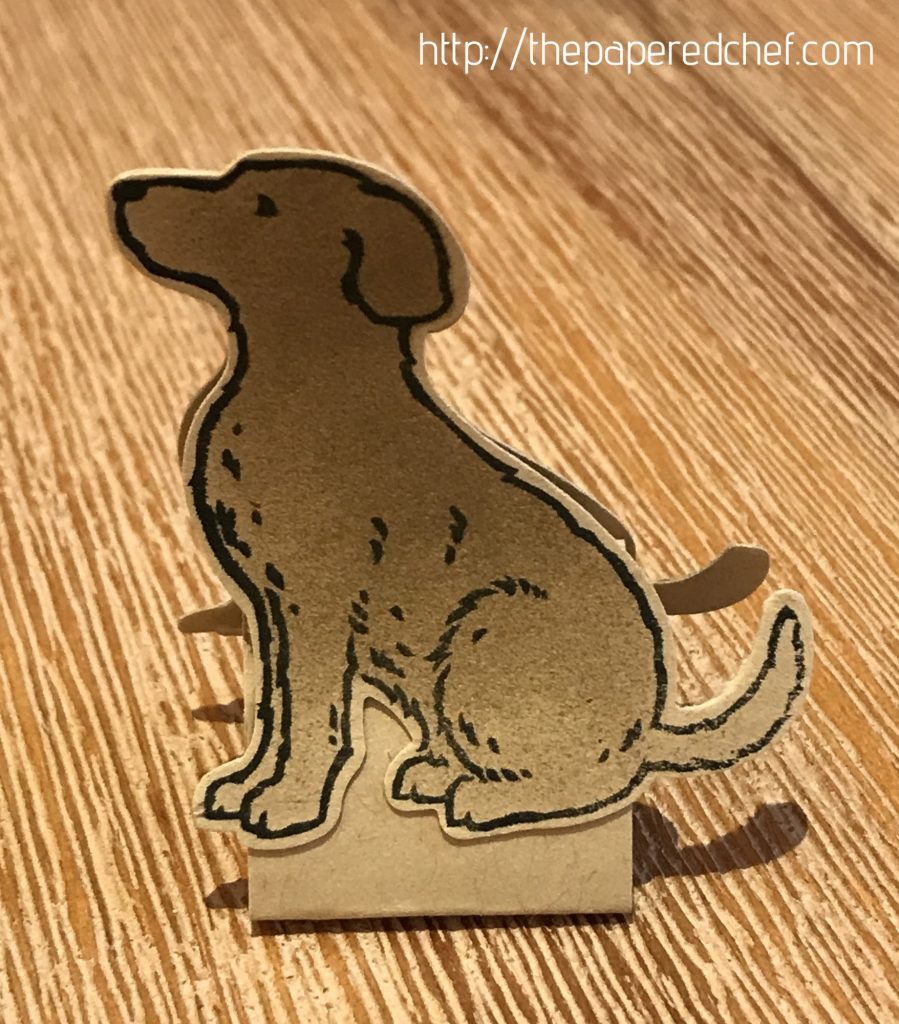
If you are a dog lover, then please watch this one! In this tutorial, I will explain how to create a stamping mask using your Brother Scan and Cut. The stamp set we will be using is called Happy Tails. It coordinates with the Dog Builder Punch which I will also be demonstrating. A stamping mask is useful for coloring part of a stamping image while protecting the rest of the image. I show how to scan in a stamped image and then cut it out using black card stock using a blade depth of 5. Then, I share my productivity tip for sponge coloring lots of little dogs. After sponging the dogs, I cut them out using the coordinating Dog Builder punch. Then, I shared examples of a dog sympathy card, dog treats, and a Hershey Kiss treat featuring the stamped dog craft.


Product List


 Designer Series Paper")


 Burlap Ribbon")

 Cellophane Bags")


More Projects by The Papered Chef:
Subscribe to my YouTube Channel
Visit me on Pinterest
Like me on FaceBook
Follow Me on Instagram
Shop at our Etsy Store


Nice card and projects. Great tutorial. I like your tutorials and in addition to learning from the content of them, you speak clearly and not like you are in a hurry.
Nice video. You do a great job. Your items are darling. Thanks for sharing.
Thanks Gail and Lorraine, I appreciate you watching my video tutorials and providing feedback. It means a lot.
Love love love all your tutorials. I have learned so much about my Scan N Cut from watching your tutorials. Love all the Stamping Up turtorials as well. I tell everyone about your channel!
Thanks so much Nancy! It means a lot that you are sharing my channel.