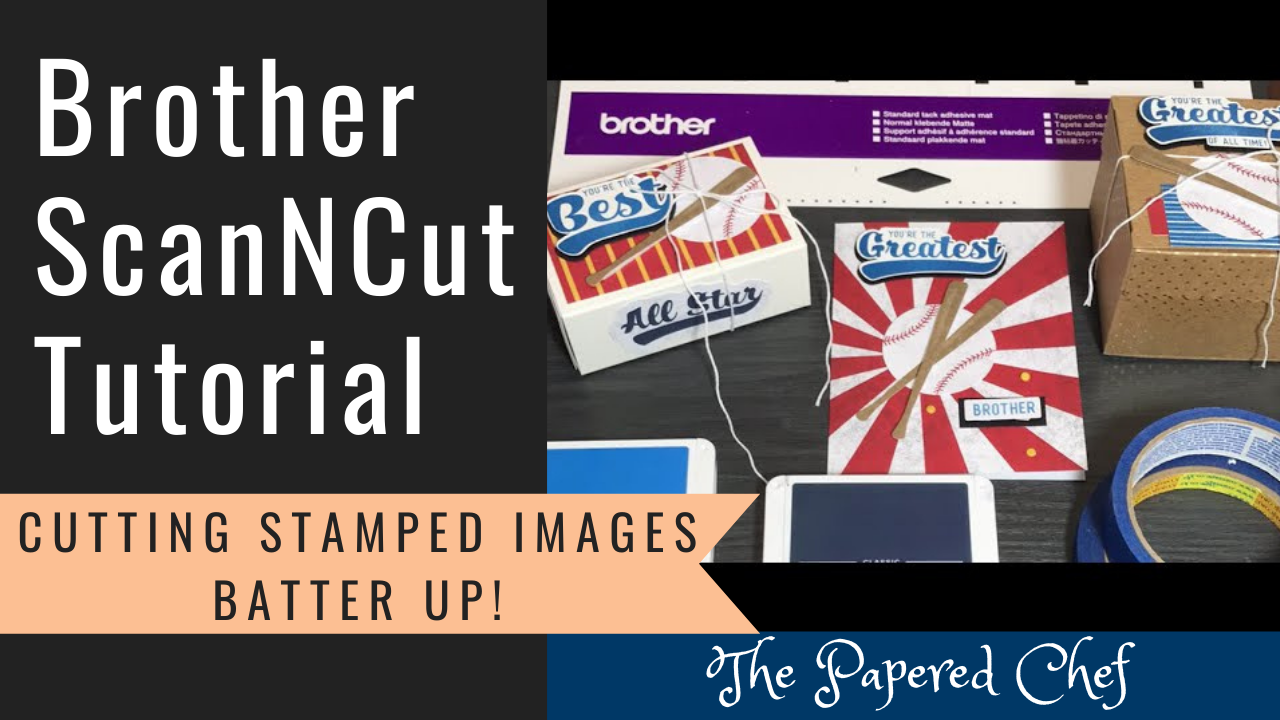
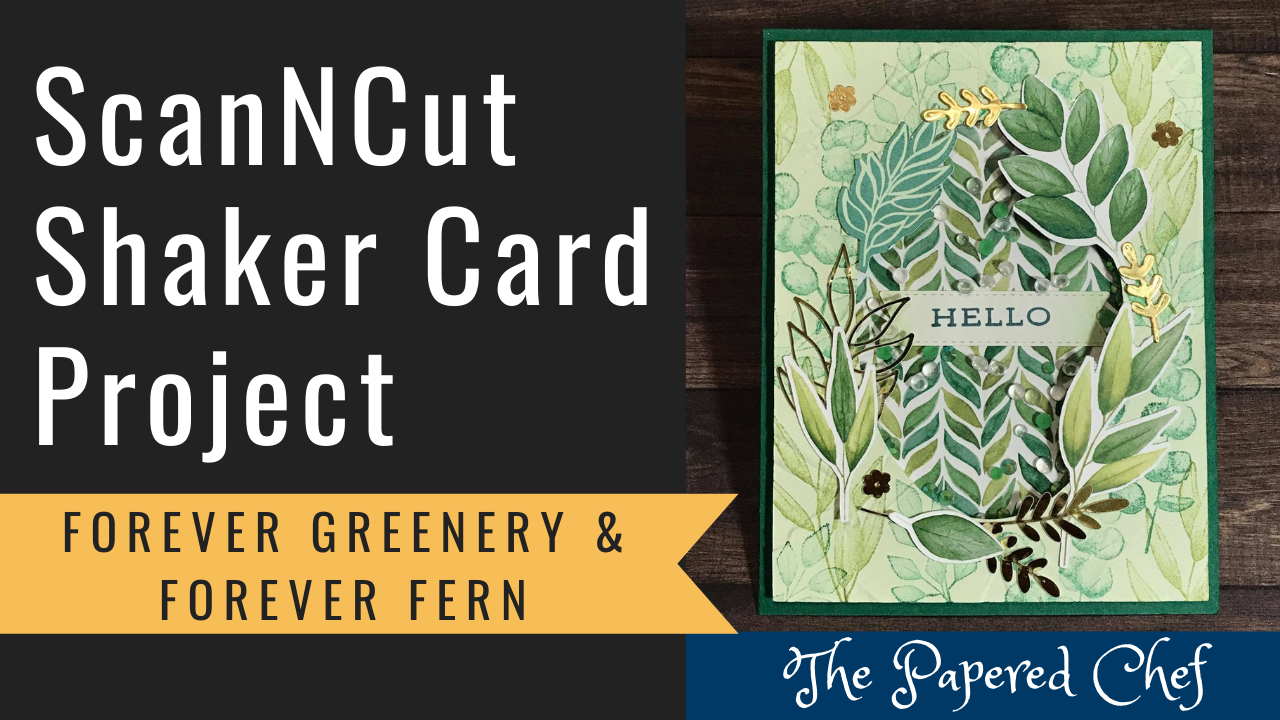
In this Brother ScanNCut Tips & Tricks Tutorial, you will learn how to create stencils using your SDX125. I share how to create a circle stencil and two pattern stencils. You will learn how to change your default settings so that you can cut thicker material, how to change your cutting area and how to change your pattern interval. Stencils can be used for sponge coloring, decorating, tracing, masking, and much more. I shared examples of how I used these stencils I cut from Mylar sheets. I shared how to sponge color the stencils and how to use them to add some texture to card backgrounds I created using the World of Good suite by Stampin’ Up!
Settings for Larger Stencil Pattern
Built in Shapes = BA-A076
Size = 0.4″
Pattern Interval = 3
Total in a 6″ x 6″ Cutting Area = 81
Cutting Time = 9 minutes
Reduce the cutting time by not cutting 2 times.
Settings for Smaller Stencil Pattern
Built in Shapes = BA-A076
Size = 0.25″
Pattern Interval = 3
Total in a 6″ x 6″ Cutting Area = 144
Cutting Time = 14 minutes
Reduce the cutting time by not cutting 2 times.
SDX125 Settings used for cutting Mylar Stencils
Blade Depth = Autoblade
Cut Speed = 3
Cut Pressure = 7
ScanNCut2 CM350 Settings used for cutting Mylar Stencils
Deep Cut Blade Depth = 4
Cut Speed = 2
Cut Pressure = 3
Related Tutorial featuring the SDX125
Brother ScanNCut Tips & Tricks – creating Stencils – Winter Gifts Paper Pumpkin Kit by Stampin’ Up!
Related Tutorials featuring the CM350
Cut out Stencils with the ScanNCut – Back to School Part 1
Brother ScanNCut Tips & Tricks – Creating a Stamping Mask or Stencil – Sentimental Rose
Contact The Papered Chef
Mylar Stencil Sheets
Brother ScanNCut DX, SDX125
Projects by The Papered Chef:
